To install a spy camera in your ceiling fan, start by selecting a compact, high-resolution camera with wireless connectivity. Make sure strategic placement within the canopy for wide coverage. Turn off power, remove fan parts, and disconnect wiring carefully. Mount the camera discreetly, using existing channels to hide cables. Secure wires with clips along the frame. After testing the camera's view, reassemble by verifying wiring and securely attaching all parts. Remember, precision and attention to detail are critical for effective surveillance. It's important to follow each step meticulously for best results.
Selecting the Right Spy Camera
When choosing a spy camera for installation in your ceiling fan, prioritize compactness, high resolution, and wireless connectivity for the best surveillance capabilities.
Consider the camera placement within the ceiling fan to guarantee optimal coverage of the room. Look for features such as pan-tilt-zoom functionality to adjust the camera's position remotely for a wider view.
Budget considerations are essential when selecting a spy camera. Look for a camera that fits within your budget without compromising on essential features like video quality. Opt for a camera with at least 1080p resolution to ensure clear and detailed footage for effective monitoring.
Wireless connectivity is pivotal for seamless integration of the spy camera into your surveillance system. Choose a camera that supports Wi-Fi connectivity for easy remote access to live feeds and recordings. Additionally, make sure the camera is compatible with your existing devices for convenient monitoring.
Preparing Your Tools and Workspace
Before you begin installing the spy camera in your ceiling fan, it's essential to gather all the necessary tools and prepare your workspace for a smooth and efficient setup process. Start by ensuring you have safety goggles, gloves, and a stable ladder to prevent accidents.
Organize your workspace by clearing the area around the ceiling fan to have ample space to work. Consider laying down a protective covering on the floor to catch any falling debris or screws.
Next, check your tools for maintenance. Make sure your screwdrivers, pliers, and any other equipment are in good working condition. This step avoids interruptions during the installation process.
Set up all the required equipment near the ceiling fan, such as the spy camera, mounting brackets, and screws, to have everything within reach. Having a well-organized workspace will streamline the installation process and help you stay focused on the task at hand.
Disassembling the Ceiling Fan
Start by turning off the power to the ceiling fan at the circuit breaker before proceeding to disassemble it. Safety precautions are important during this step to avoid electrical hazards. Make sure you have the necessary tools like a screwdriver and a voltage tester for expert tips on a smooth disassembly process.
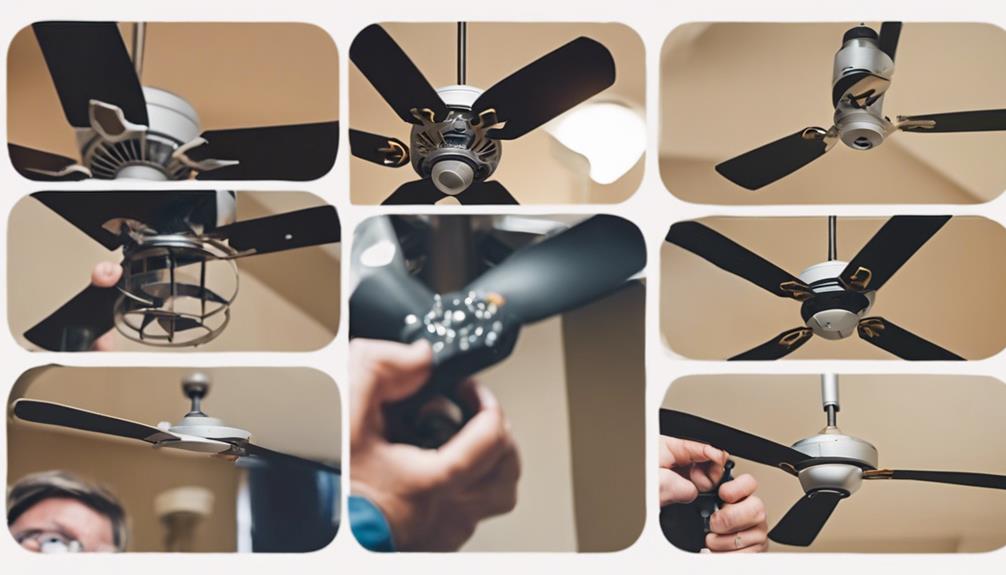
To begin, remove the fan blades by unscrewing them from the fan motor. Remember to label each blade to maintain the correct orientation during reassembly.
Next, detach the fan motor from the mounting bracket by loosening the screws holding it in place. Be cautious when handling the motor to prevent damage.
Once the motor is removed, focus on the ceiling fan's canopy. Disguise techniques can be used to conceal the spy camera effectively within the canopy.
Carefully disconnect the wiring connections between the fan and the ceiling, making sure you note down how they're connected for later reference.
Installing the Spy Camera
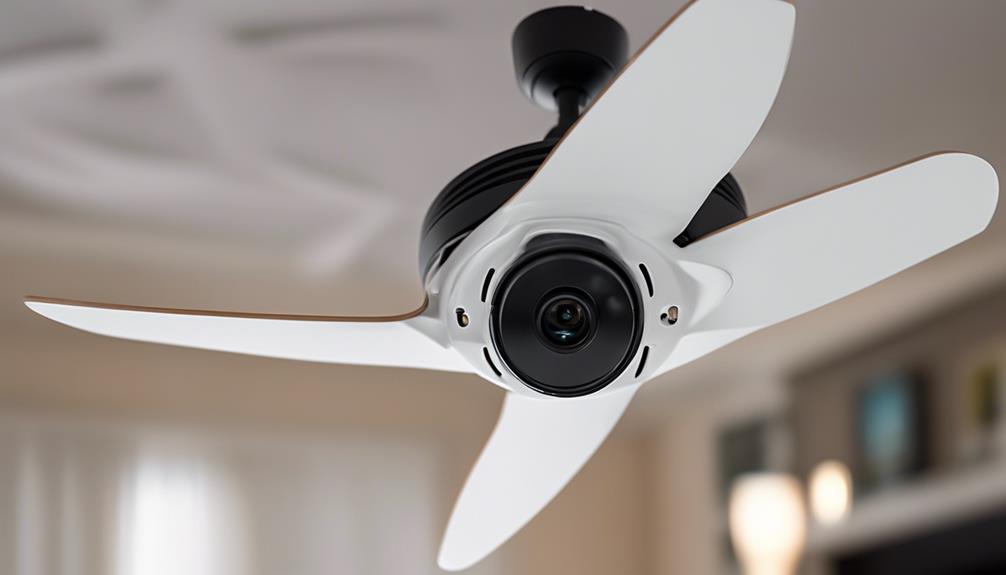
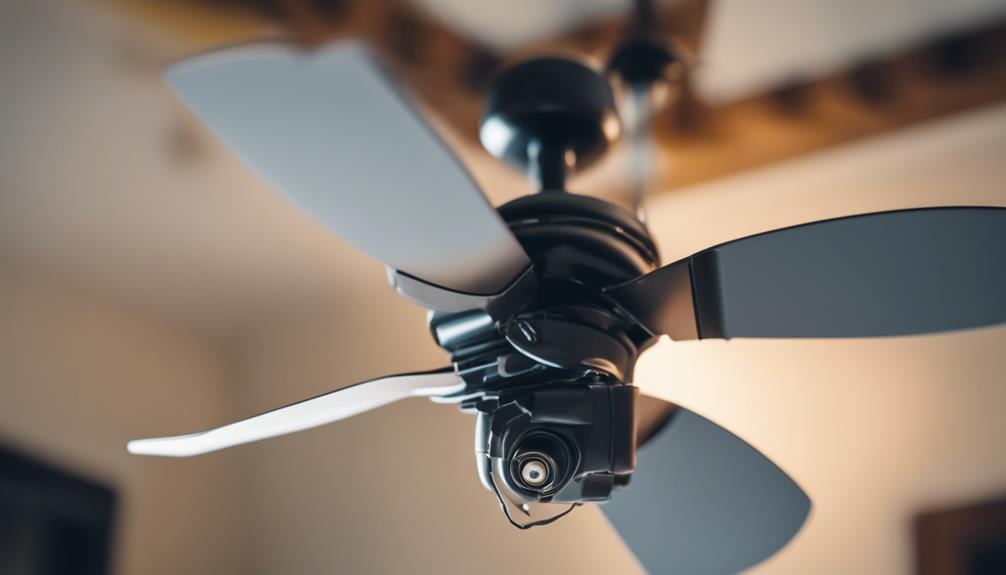
To successfully integrate the spy camera into the ceiling fan, carefully select a discreet location within the canopy for best surveillance coverage. When positioning the camera, make sure it's centrally located to capture the widest possible view without obstruction. Avoid placing it too close to the edges to prevent blind spots.
For hiding wires, utilize the existing wiring channels within the fan to conceal the camera's cables. Secure the wires along the fan's frame using cable clips to keep them out of sight. Be cautious not to impede the fan's functionality or create any safety hazards.
Before finalizing the camera placement, test the view from the camera's perspective to guarantee excellent coverage. Adjust the angle if necessary to achieve the desired surveillance range.
Once satisfied with the positioning, carefully tuck away any remaining loose wires to maintain a clean and inconspicuous installation.
Reassembling the Ceiling Fan
You'll now proceed with reassembling the ceiling fan by carefully following these precise steps. Begin by verifying the wiring connections. Match the wire colors (usually black to black, white to white, and green to green or bare copper) and secure them with wire nuts. Make sure the connections are tight and properly insulated.
Next, consider the mounting options for your ceiling fan. If you'd to remove the fan from the ceiling during the spy camera installation, confirm the mounting bracket is securely attached to the electrical box. Lift the fan assembly back onto the bracket and align the holes for the screws.
After positioning the fan, insert and tighten the screws to hold it in place. Double-check that all screws are secure before proceeding.
Conclusion
To sum up, setting up a spy camera in your ceiling fan demands careful planning, the right tools, and precision. By following the steps outlined in this guide, you can discreetly monitor your surroundings with ease.
Remember to always respect privacy laws and use the spy camera responsibly. With proper installation and maintenance, you can guarantee the safety and security of your home or workspace.
Happy spying!