
A hook-style spy camera can be useful for monitoring an entryway, workspace, storage area, or another location where you have permission to record. Before installing one, check applicable privacy and recording laws and make sure everyone who may be recorded is properly informed or has provided consent where required. Never use a camera in bedrooms, bathrooms, changing areas, or other places where people reasonably expect privacy.
Choose a Suitable Location
Start by identifying the area you need to monitor and the view the camera must capture. Choose a stable location that provides a clear line of sight without placing the lens behind objects that could block the image.
- Avoid pointing the lens directly at windows, lamps, or other bright light sources, which can cause glare or overexposure.
- Use natural surroundings, such as existing fixtures or shelving, to keep the installation tidy without obstructing the lens or microphone.
- Place the camera high enough to reduce accidental contact, but not so high that the image loses important detail.
- Keep the camera away from heat, moisture, excessive dust, and areas where the mounting surface may vibrate.
Do not choose a location solely because it is difficult to notice. The camera should be installed only for a legitimate purpose and in a way that respects the privacy of people in the space.
Check the Components Before Installation
Unpack the camera and organize the included parts before mounting anything. Depending on the model, the kit may include a power cable, adapter, mounting hardware, storage media, or setup accessories. Inspect the housing, lens, cable, and connectors for visible damage.
Connect the camera temporarily and confirm that it powers on. If the device does not start, check the cable and adapter, try an approved power source, and consult the product instructions. Avoid using damaged cables or forcing connectors into place.
Mount the Camera Securely
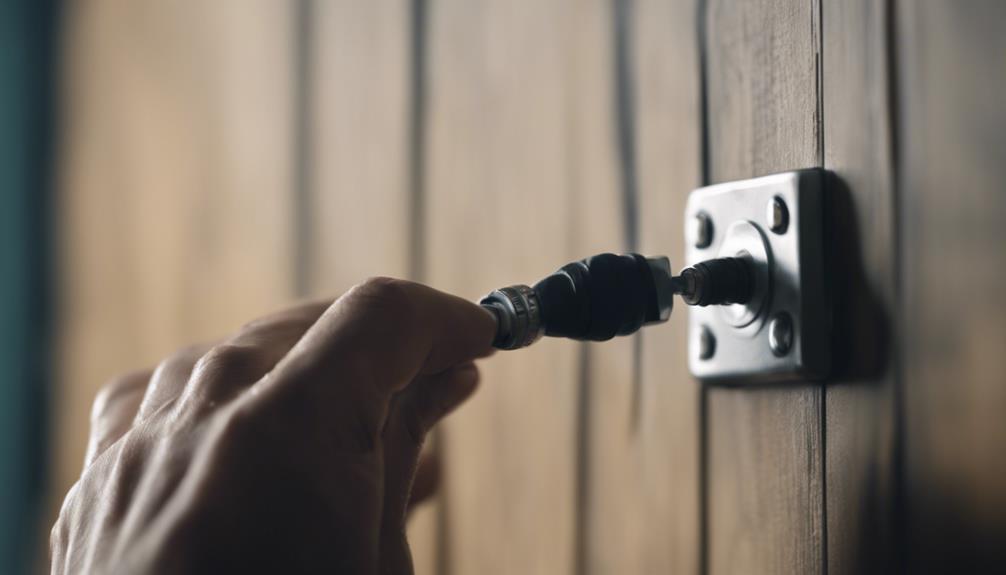
Use the supplied hook, bracket, adhesive, or screws according to the manufacturer’s instructions. The mounting method should match the surface and support the camera without slipping. Before tightening the mount completely, position the lens toward the permitted monitoring area.
Keep the camera level and make sure the hook or bracket does not cover the lens, status indicator, ventilation openings, or controls. If the camera includes an adjustable head, make small changes rather than forcing it beyond its intended range. A secure mount helps prevent blurred footage caused by movement and makes the camera easier to maintain.
Connect Power and Manage the Cable
Use the supplied power adapter or another source specifically approved for the camera. Choose an outlet that is reliable and accessible for maintenance. Do not overload an outlet or route a cable where it could become a trip hazard, be pinched by a door, or be damaged by furniture.
For a cleaner installation, guide the cable along a wall or baseboard using suitable clips or cable holders. Leave enough slack near the camera and connector to prevent strain. Do not conceal electrical connections inside walls or enclosed spaces unless the installation complies with applicable electrical requirements.
Test the View and Image Quality
Open the camera’s preview or recording view and check the complete frame. Confirm that the intended area is visible and that the camera is not recording beyond the space you are authorized to monitor. Look for blind spots, reflections, glare, and objects that may move into the frame.
Adjust the angle in small increments until important details are visible without unnecessary coverage. Test the image during the lighting conditions in which the camera will normally operate. If bright areas wash out the picture, reposition the camera or reduce the direct light rather than relying on digital adjustments alone.
Complete a Final Check
- Confirm that the mount is firm and the lens is clean.
- Verify that the power connection remains stable.
- Check that recordings, alerts, or storage features work as described in the instructions.
- Secure access to the camera account and change any default password.
- Review the camera’s position periodically to ensure it still respects privacy boundaries.
Maintain the Installation Responsibly
Clean the lens and housing with the method recommended by the manufacturer, and inspect the cable and mount for wear. Apply firmware or software updates when the manufacturer provides them. Store recordings securely, limit access to authorized users, and retain footage only as long as there is a legitimate reason to keep it.
A successful hook camera installation depends on a stable mount, dependable power, a carefully tested viewing angle, and responsible use. Planning the location and checking the system before relying on it will produce clearer, more consistent results while helping protect the privacy of everyone in the monitored space.