
Setting up a mini cube camera is straightforward when you work through the hardware, app, network, recording, and privacy settings in order. Before installation, use the camera only where monitoring is lawful and appropriate. Do not record private areas or people without the required permission.
1. Check the camera and included accessories
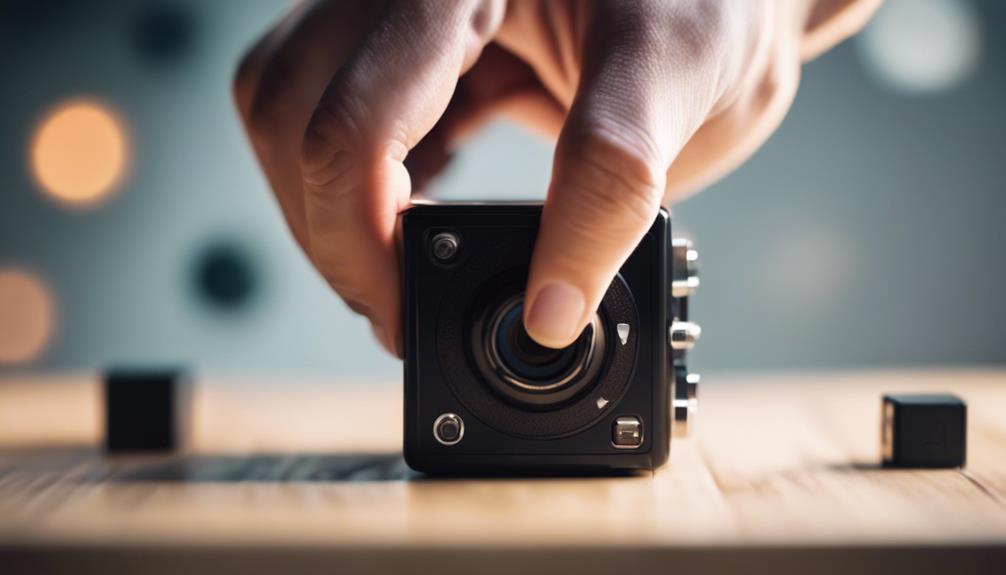
Carefully remove the camera from its packaging and compare the contents with the supplied manual. Look for the camera, USB charging cable, mounting accessories, and any memory card or adapter included with your particular package. Locate the charging port, power button, indicator light, reset control, and memory-card slot before switching the camera on.
2. Insert a compatible memory card
If the camera supports local recording, insert a compatible memory card into the slot as shown in the manual. Make sure the card is facing the correct direction and clicks securely into place. If the camera offers a formatting option in its app or settings menu, format the card before important recording. Formatting removes existing files, so back up anything you need first.
3. Charge the camera fully
Connect the supplied USB cable to the camera and a suitable USB power source. Leave the camera connected until the charging indicator shows that charging is complete, following the manual for the device’s exact indicator behavior. If it does not appear to charge, check both connections and try another compatible cable or power adapter. Avoid forcing a connector into the port.
4. Install the manufacturer’s app
If your model uses a companion app, download it from the official app store for your phone or tablet. Open the app and follow its setup instructions rather than relying on settings intended for a different model. You may be asked to create an account, scan a setup code, or allow permissions needed for camera discovery and notifications.
5. Connect the camera to Wi-Fi
Turn on the camera and use the app’s add-device or network setup option. Select your Wi-Fi network and enter the password carefully. Keep the camera close to the router during initial setup, then move it to its intended position after the connection has been confirmed.
If pairing fails, check that the phone and camera are using the network required by the camera, confirm the password, and restart the setup process. A weak signal or interference can also interrupt the connection. Use a strong, unique Wi-Fi password and change any default camera password before using remote features.
6. Choose a responsible position
Place the camera where it covers the intended area without invading anyone’s reasonable expectation of privacy. Avoid bedrooms, bathrooms, changing areas, and other private spaces. Tell household members, visitors, employees, or other affected people when notice or consent is required.
Use a stable surface or the supplied mount. Keep the lens unobstructed and position the camera so that bright windows or lamps are not directly in the frame. A clear, moderately wide view is usually more useful than an angle that is hidden but blocked.
7. Adjust picture and recording settings
Use the app or camera controls to select the available resolution, frame rate, recording mode, and night-vision options. Higher-quality settings may use more storage space or battery power. Set the date and time if the camera provides those controls, since accurate timestamps make recordings easier to review.
8. Configure motion detection carefully
Enable motion detection only if you need event-based recording or alerts. Begin with a moderate sensitivity level, then test the camera by walking through the monitored area. Increase sensitivity if relevant movement is missed; reduce it if routine activity, changing light, pets, or outdoor movement creates too many alerts.
Adjust detection zones where the app allows it. Excluding busy areas can reduce unnecessary notifications and preserve storage space.
9. Test live view, recording, and night vision
Open the live feed and confirm that the image loads reliably. Record a short clip, review it, and check the focus, framing, audio if available, and playback quality. Test motion alerts and low-light performance at the times you expect to use the camera. If the picture is blurry, clean the lens with a soft, dry cloth and adjust the camera angle.
10. Protect footage and maintain the camera
Choose a storage method supported by your model, such as a memory card or the manufacturer’s cloud option. Protect the app account with a strong password and enable additional security features when available. Limit access to people who need it, and delete footage when it is no longer required. Keep in mind that cloud and local storage may have different privacy, access, and retention implications.
Periodically check the camera’s power, Wi-Fi connection, storage capacity, lens cleanliness, and motion alerts. Keep the device dry, store it safely when not in use, and follow the manual for resets or firmware instructions. A short routine test helps identify problems before you need the camera to record.