
A Raspberry Pi can be configured as a compact camera system for home monitoring, recording, or other projects where everyone being recorded has given appropriate consent. The setup involves preparing the operating system, connecting a compatible camera module, testing video capture, and choosing whether to add motion detection or remote viewing.
Before you begin, check the privacy and surveillance rules that apply where you live. Do not use a camera to record people in private spaces without their knowledge or permission. Keep the system restricted to an appropriate area, protect its login details, and avoid exposing the camera feed directly to the public internet.
Prepare the Raspberry Pi
Install a supported Raspberry Pi operating system on a microSD card, then start the Pi and complete its initial setup. Connect it to a trusted network and update the installed packages before adding camera software. Keeping the system updated helps reduce configuration problems and improves its general security.
Use the Raspberry Pi configuration tools to enable the camera interface if your operating system and camera setup require it. The exact menu or command can vary between software releases, so follow the instructions supplied for your particular camera module and operating system.
- Use a reliable power supply suitable for the Raspberry Pi.
- Connect the Pi to a trusted Wi-Fi or wired network.
- Choose a storage card with enough free space for recorded video.
- Change any default password before enabling network access.
Connect and test the camera module
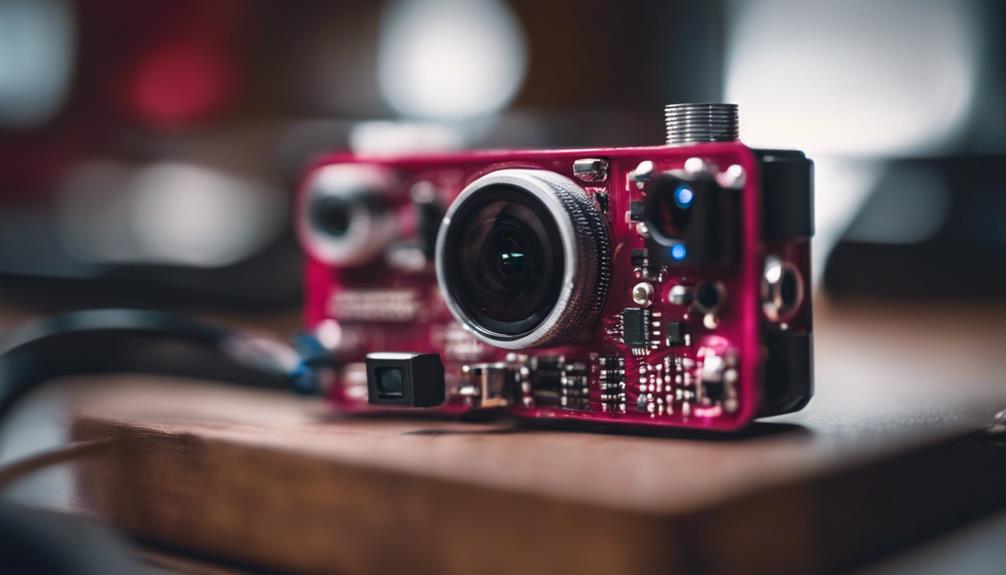
Shut down the Raspberry Pi and disconnect its power before installing the camera. Locate the camera connector, release the retaining tab, and insert the ribbon cable in the correct orientation. The cable should slide in without force; a loose or reversed connection can prevent the camera from being detected.
Camera connectors and modules are not identical across every Raspberry Pi model, so confirm compatibility before installation. After reconnecting power, use the camera tools supplied with your system to test still images and video. In older Raspberry Pi camera environments, commands such as raspistill and raspivid were used for this purpose. For example:
raspistill -w 1920 -h 1080 -o test.jpgCamera commands may differ on newer software installations. If the command is unavailable, use the camera documentation for your installed operating system rather than assuming the older tools are supported.
Choose practical camera settings
Higher resolution can produce more detail, but it also uses more storage and processing capacity. A lower resolution or frame rate may be more suitable when the Pi needs to detect motion, save recordings, or stream video at the same time.
Test the following settings in the actual location where the camera will operate:
- Resolution: Select enough detail for the intended viewing area.
- Frame rate: Use a smoother rate for movement, if the hardware and network can handle it.
- Brightness and contrast: Adjust these when the scene is too dark or washed out.
- Camera position: Point the lens only at the area you are authorised to monitor.
Add motion detection and recording
Motion-detection software can reduce storage use by recording only when movement is detected. Install a Raspberry Pi-compatible application, then configure its sensitivity and detection area. Excessive sensitivity can create repeated false alerts from changing light, trees, or background movement; insufficient sensitivity may miss important activity.
If the software supports it, limit detection to the part of the image that matters. Select a recording mode that matches the project, such as motion-triggered clips, continuous recording, or a schedule. Set a retention limit so old files do not fill the storage card indefinitely.
Enable local or remote viewing carefully
A web interface or streaming application can provide live viewing on the local network. Options mentioned for Raspberry Pi camera projects include MotionEye and RPi-Cam-Web-Interface, but compatibility depends on the operating system and camera software in use.
Test the live feed from another device on the same network before attempting remote access. For off-site viewing, use a secure method such as a properly configured VPN rather than forwarding an unauthenticated camera port to the internet. Protect the interface with a strong, unique password and restrict access to only the accounts and devices that need it.
Troubleshoot common problems
- Camera not detected: Power down the Pi, reseat the ribbon cable, and verify its orientation and compatibility.
- Unstable video: Check the power supply, reduce resolution or frame rate, and review available storage.
- Network problems: Confirm that the Pi has joined the intended network and that local access works first.
- Blurry footage: Clean the lens and adjust focus if the camera module provides a focus ring.
- Too many alerts: Lower sensitivity, narrow the detection zone, or adjust the camera angle.
Once the camera works locally, motion detection and remote access can be added one change at a time. This makes it easier to identify configuration issues while keeping the monitoring system private, reliable, and limited to its legitimate purpose.