
A screw-mounted camera can be useful for monitoring a doorway, storage area, workshop, or other property you control. Installation should always respect privacy: use the camera only where you have permission, notify people when required, and avoid bedrooms, bathrooms, changing areas, or spaces where others reasonably expect privacy. This guide focuses on secure, visible mounting and reliable image quality rather than concealing a camera or recording people without their knowledge.
Plan the Installation
Before drilling, decide what area the camera needs to cover and confirm that the location is appropriate for recording. A clear view of an entrance or storage space is generally more useful than a hidden position with a poor angle. Check whether the camera needs a nearby power outlet, a network connection, or access to a recorder or approved mobile application.
Mark the proposed position temporarily with removable tape. View the area from the camera’s approximate height and angle, checking for obstructions such as shelves, door frames, glare, or moving objects. Avoid aiming directly through windows or toward bright lights, since backlighting can make people and objects appear dark.
Materials and Tools
- The camera and its mounting plate or bracket
- Screws and wall anchors suited to the mounting surface
- A drill and the correct drill bit for the surface
- A screwdriver that matches the screw head
- A pencil, measuring tape, and level
- Cable clips or channels for securing exposed wiring
- A power supply and, if needed, a network cable
Use only the hardware recommended by the camera manufacturer when possible. The correct fastener depends on the camera’s weight and whether it is being attached to drywall, wood, masonry, or another material.
Choose the Right Screws and Anchors
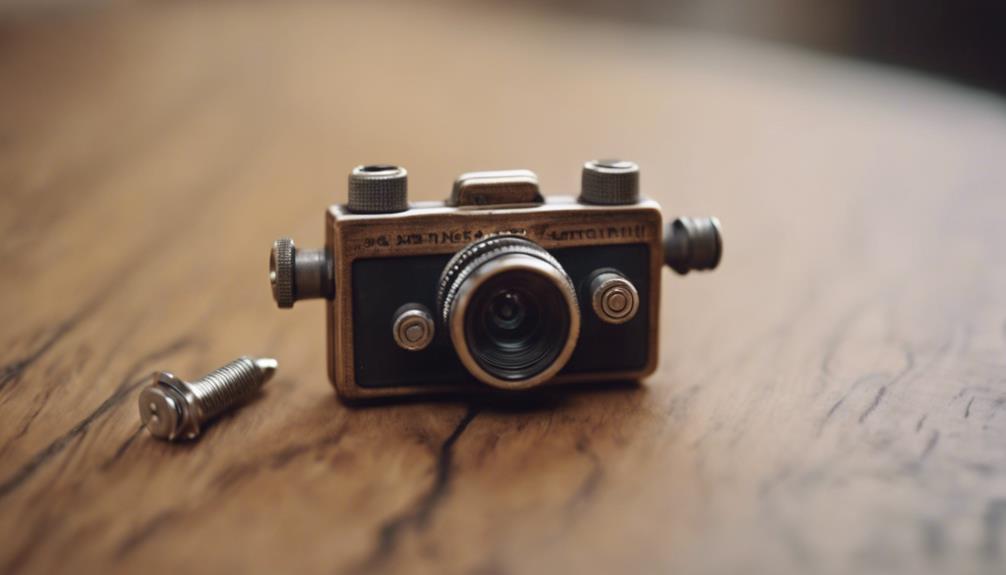
Do not select screws by size alone. A secure installation requires a screw that matches the surface, anchor, mounting-hole diameter, and expected load. A small, lightweight camera may use relatively small screws, while a heavier unit or outdoor bracket may require stronger hardware. The screw should be long enough to engage the anchor or solid material without penetrating pipes, electrical cables, or the opposite side of a thin panel.
For drywall, use anchors rated for the camera’s weight rather than relying on the board alone. For wood, install into a solid stud or suitable timber. For brick or concrete, use masonry fasteners and the correct masonry bit. If you are uncertain about what lies behind the proposed mounting point, stop and inspect the area before drilling.
Mount the Camera Securely
- Hold the mounting plate in the chosen position and use a level to check its alignment.
- Mark the screw holes with a pencil.
- Drill pilot holes or anchor holes appropriate to the surface and hardware.
- Install the anchors if required, then attach the mounting plate without overtightening.
- Attach the camera and adjust its angle so the intended area is visible.
- Route the cable neatly, keeping it away from hinges, sharp edges, heat sources, and walkways.
Use a tidy cable route rather than leaving wiring loose. Cable clips or surface channels can reduce strain on the connector and make future maintenance easier. Do not cover ventilation openings or obstruct a microphone, status light, or lens.
Adjust the View and Lighting
Position the lens to capture the necessary area while limiting views into neighboring rooms, private workspaces, or adjacent property. A slightly downward angle can reduce glare and keep the image focused on the relevant entry or equipment. If the camera supports privacy masks or restricted zones, configure them before regular use.
Test the view during both bright and dim conditions. Move lamps or adjust the camera angle if a light source creates flare. For night recording, check whether infrared illumination reflects from nearby glass or glossy surfaces.
Test Recording and Access
Make a short test recording and review it from the intended viewing device. Confirm that the image is sharp, the time and date are correct, and the camera remains stable when the mount is gently touched. Test motion detection, notifications, audio settings, and remote access only if those features are needed and permitted.
Use a strong unique password, enable available account security features, and limit access to authorized users. Keep firmware and companion applications updated according to the manufacturer’s instructions. Set a reasonable retention period for recordings and delete footage that is no longer needed.
Privacy and Ongoing Checks
Post notice where appropriate and tell household members, employees, guests, or contractors about recording practices when required. Requirements differ by location, especially for audio recording, so check applicable rules before activating a microphone or sharing footage. Inspect the screws, anchors, cable, and image angle periodically to ensure the camera remains secure and continues to cover only the intended area.