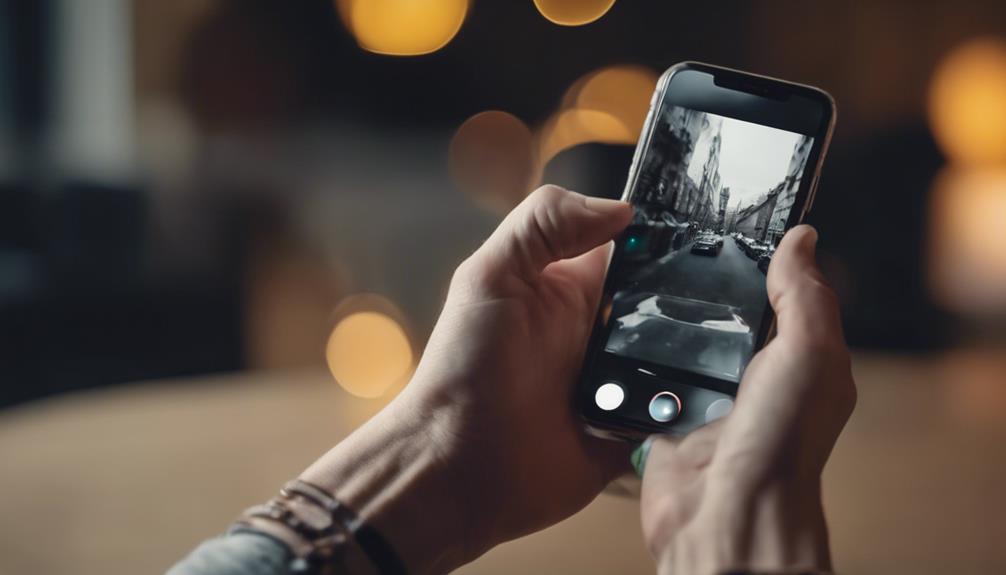

Connecting a small or concealed camera to an iPhone usually involves installing the manufacturer’s app, connecting the camera to a wireless network, and completing the pairing process inside the app. The exact steps vary by model, so keep the camera’s instructions available while setting it up.
Use any camera responsibly and lawfully. Do not record people in places where they reasonably expect privacy, and make sure you have the necessary permission before recording or monitoring an area.
1. Check iPhone and camera compatibility
Before beginning, check the camera packaging, manual, or manufacturer’s product information for compatibility requirements. Look for:
- Supported iPhone and iOS versions
- The name of the required iPhone app
- Whether the camera uses Wi-Fi, Bluetooth, or both
- Supported Wi-Fi bands and network requirements
- Whether cloud storage or a subscription is required for particular features
Compatibility information can help you avoid pairing problems and identify which functions—such as live viewing, recording, or motion alerts—are available with your model.
2. Install the camera’s iPhone app
Open the App Store and search for the official app named in the camera’s documentation. Check the developer name before installing an app, particularly if several apps have similar names.
After installation, open the app and create or sign in to an account if the camera requires one. During setup, the app may request access to notifications, the local network, Bluetooth, the microphone, or photos. Allow only the permissions needed for the features you intend to use. If you do not understand a permission request, review the camera’s instructions before accepting it.
3. Prepare the camera and Wi-Fi network
Connect the camera to power and place it within range of your wireless router. If the camera has a setup or reset button, use the procedure described in its manual to put it into pairing mode.
In the camera app, choose the option to add a device or set up a new camera. Select your Wi-Fi network and enter its password carefully. Some cameras temporarily create their own wireless network during setup; if so, follow the app’s instructions for switching your iPhone to that network and then transferring the camera to your home network.
Wait for the app to confirm that setup is complete. Keep the camera close to the router during initial pairing. You can move it to its intended location afterward, but a weak signal may cause delayed video, dropped connections, or missed alerts.
4. Pair the camera with your iPhone
Once the camera is connected to Wi-Fi, finish adding it through the manufacturer’s app. Depending on the model, pairing may involve scanning a QR code displayed on the iPhone, entering a device code, pressing a physical button, or connecting through Bluetooth.
When pairing succeeds, the camera should appear in the app’s device list. Open it and confirm that you can see a live preview. If the app cannot find the camera, verify that the camera is powered on, your iPhone has the required permissions, and both devices are using the network specified in the setup instructions.
5. Adjust video, recording, and motion settings
Use the app to configure the camera for its intended location. Useful settings may include:
- Video quality and recording mode
- Date and time for recording timestamps
- Motion detection sensitivity
- Notification schedules
- Audio or microphone controls
- Local or cloud storage options
Test motion detection by moving through the area you are permitted to monitor. If notifications are too frequent, reduce sensitivity or limit the detection zone if the app provides that option. If expected movement is not detected, check the camera’s position and increase sensitivity gradually.
6. View live video and recordings
Open the camera in the app to view live video. Recorded clips are usually available under a recordings, events, or playback section. If the camera supports cloud storage, the app may provide access to clips through the associated online account. Other models save footage to a memory card or directly to the device.
Review the storage settings so you know where recordings are kept and how long they remain available. Delete footage that is no longer needed, especially when recordings contain personal or sensitive information.
7. Secure remote access
Protect the camera account with a strong, unique password and enable two-factor authentication if the app offers it. Change any default camera password before using the device. Install firmware and app updates supplied by the manufacturer, since updates may address compatibility or security problems.
Being able to access the camera while away from home depends on the model and its remote-access service. Some cameras work only when the iPhone and camera are on the same local network, while others support access through the internet. Check the documentation rather than assuming remote viewing is available.
Troubleshooting connection problems
- Restart the camera, iPhone, and router.
- Confirm that the Wi-Fi password and network name were entered correctly.
- Move the camera closer to the router and test the live feed again.
- Check that the app has local-network and notification permissions.
- Update the app or camera firmware if an update is available.
- Reset the camera only after reviewing the manual, since resetting may erase its network settings.
If the camera still will not connect, consult its model-specific instructions or the manufacturer’s support service. Generic pairing steps cannot replace requirements that differ between camera models.