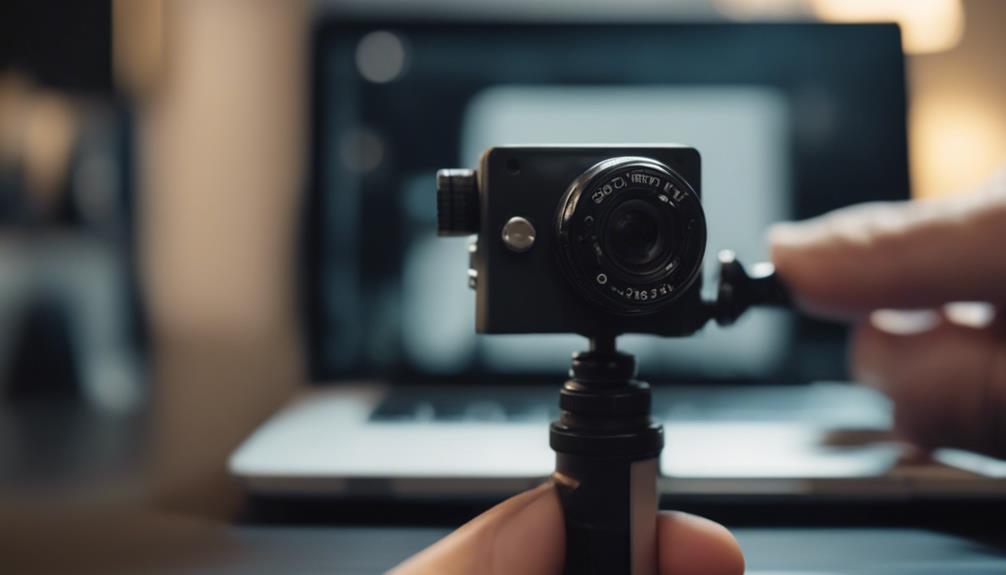

A 1080p mini camera can be useful for recording rooms, checking equipment, monitoring property, or documenting activity when used lawfully. Controls and menu names vary by model, so use this guide alongside the instructions supplied with your camera. Always respect privacy rules and obtain consent where required, especially when recording people in private spaces.
1. Check the contents and charge the camera
Before setting up the device, compare the box contents with the supplied manual. Look for the camera, charging cable, memory card if included, mounts, clips, and any adapters. Charge the camera fully before its first use, then check that the power indicator and buttons respond normally.
2. Choose a suitable and lawful position
Select a location with a clear view of the area you are permitted to monitor. Avoid placing the camera where furniture, glare, or other objects block the lens. Keep it away from excessive heat, moisture, and places where it could be knocked over. Test the proposed position before securing the camera permanently.
3. Learn the basic controls
Most mini cameras use separate controls for power, mode selection, and recording, although the labels may differ. Identify how to switch between video, photo, and motion-detection modes. Practice starting and stopping a short recording so you know when the camera is active and how its indicator lights behave.
4. Set the date and time
Open the settings menu and enter the correct date, time, and time zone. If the camera offers different date formats, select the one you can read most easily. Check the daylight-saving option if it is available and relevant to your location. Accurate timestamps make recorded files easier to sort and review.
5. Adjust image and video settings
Set the resolution according to how you plan to use the footage. A higher setting can provide more visible detail but may create larger files and use storage more quickly. If the camera provides frame-rate, exposure, or white-balance controls, test them in the actual lighting conditions where the camera will operate.
- Use a clear, well-lit view for the best image.
- Avoid pointing the lens directly at a bright window or light source.
- Check the camera angle at the edges of the frame, not just the centre.
6. Select the recording mode
Choose continuous recording, still photographs, scheduled recording, or another mode listed in your manual. Continuous video is straightforward but can fill the memory card quickly. If the camera supports recording intervals or loop recording, review how those options affect file length, storage, and the handling of older files.
7. Configure motion detection carefully
Motion detection can save storage and battery power by recording activity rather than an empty scene. Begin with the default sensitivity and test it in the intended location. Increase sensitivity if important movement is missed; reduce it if changes in lighting, curtains, pets, or passing traffic create too many recordings.
8. Review and organise the footage
Make a short test recording and play it back before relying on the camera. Depending on the model, you may be able to review files on the device or connect it to a computer with the supplied USB cable. Copy important videos and photos to a separate, secure location, then organise them by date, time, or room for easier retrieval.
9. Manage battery life and storage
Monitor the battery indicator and recharge the camera before important use. Motion detection, brighter indicators, and frequent playback may affect operating time, while continuous recording can consume both power and storage more quickly. Check the memory card regularly and use a compatible replacement if the camera reports errors or cannot save files.
10. Secure the camera and troubleshoot problems
Use the supplied clip, mount, adhesive, tripod fitting, or another compatible support to keep the camera steady. Confirm that the lens still has the intended view after mounting. Do not conceal a camera in a way that creates a safety hazard or violates another person’s privacy.
If the camera does not start, check the charge, power connection, and memory card. If recordings are missing, confirm that the correct mode is selected and that the card has available space. For connection problems, move the camera and receiving device closer together and verify any required wireless settings. If the image is poor, clean the lens and test a different angle or lighting condition. Consult the model-specific manual before formatting a card or resetting the device, since either action may remove stored settings or files.
Final check before regular use
Run one complete test: power the camera on, confirm the timestamp, record a short clip, trigger motion detection if applicable, and play the file back. This simple check helps confirm that the camera is positioned correctly, saving footage, and ready for its intended lawful use.