
Building a small camera system can be a useful electronics project for learning about image capture, microcontrollers, power management, and wireless connectivity. However, a camera should never be used to record people without their knowledge or permission. Instead of creating a hidden surveillance device, use this guide to assemble a compact camera for clearly disclosed security monitoring, wildlife observation, equipment checks, or other lawful purposes.
Plan the Project Before Buying Parts
Start by defining what the camera needs to do. Consider whether it will capture still images or video, operate indoors or outdoors, run continuously or only for short periods, and store footage locally or send it to another device. These decisions affect the camera module, controller, enclosure, power supply, and communications hardware you choose.
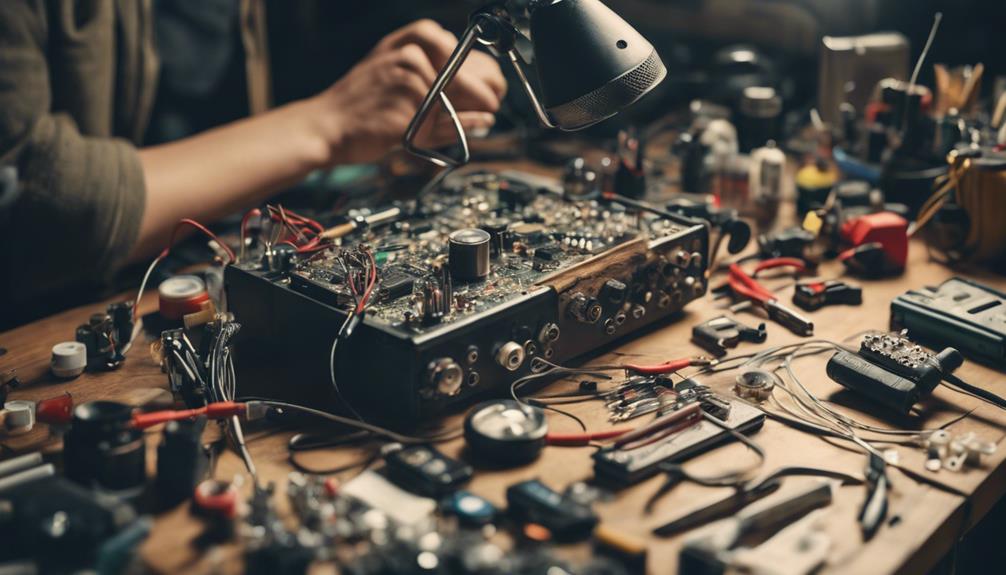
A basic project may require:
- A miniature camera module with a suitable lens and image resolution
- A compatible microcontroller or development board
- Wires, connectors, and any required resistors or capacitors
- A suitable battery pack or regulated power adapter
- An enclosure large enough to protect the electronics
- Storage or approved wireless connectivity, if the selected hardware supports it
- Basic tools such as precision screwdrivers, wire cutters, and a multimeter
Choose a Camera Module
Choose the camera according to the environment and the level of detail required. Resolution affects image clarity, while the lens determines the field of view and focusing range. A wide-angle lens can cover more of a room, but objects may appear smaller. A narrower field of view can provide more detail in a specific area.
Check that the camera is electrically and mechanically compatible with the controller board. If low-light performance matters, confirm that the module genuinely supports the required lighting conditions rather than assuming that every small camera provides useful night images. Wireless features may simplify monitoring, but they also introduce configuration and security responsibilities.
Handle Existing Hardware Carefully
If you are adapting a commercially available camera, disconnect its power source before opening the casing. Photograph or document the original wiring and component positions so the device can be restored if necessary. Small circuit boards, connectors, and lens assemblies are easily damaged by excessive force, static electricity, or incorrect polarity.
In many cases, modifying the original lens is unnecessary and may reduce image quality. Only adjust focus when the camera design allows it and when you can test the result safely. Avoid making changes that could damage the sensor or compromise the manufacturer’s safety features.
Provide a Stable Power Source
Power problems are a common cause of unreliable camera operation. Select a battery or adapter that matches the camera and controller’s voltage and current requirements. A larger battery is not automatically safer or better; it must be compatible with the circuit and protected against short circuits or over-discharge.
Use insulated wires and secure connectors. Check polarity with a multimeter before connecting the electronics, and keep exposed conductors from touching one another. If the project uses a rechargeable battery, use an appropriate charging and protection system rather than connecting the cell directly to an unsuitable power source.
Assemble a Protective Enclosure
Place the camera and controller in a rigid enclosure that protects them from accidental contact, dust, and moisture. Leave sufficient room for ventilation where required, and make sure the lens has an unobstructed view. Any outdoor installation should use an enclosure designed for the expected conditions; sealing an ordinary box does not automatically make it weatherproof.
The camera should remain visible and clearly identified when used in a shared space. Do not disguise it as a household object or position it where people would reasonably expect privacy, such as bedrooms, bathrooms, changing areas, or private workspaces.
Connect and Test the Circuit
Make connections carefully according to the camera and controller documentation. Before enclosing the components, inspect every connection for loose wires, reversed polarity, or accidental bridges between contacts. Power the system briefly and confirm that the board starts correctly, the camera produces a usable image, and any storage or network function works as expected.
Test the camera from its intended, openly disclosed position. Check focus, lighting, field of view, recording duration, battery life, and temperature during operation. If the image is blurred or overexposed, correct the focus or exposure settings where supported instead of physically altering components unnecessarily.
Use the Camera Responsibly
Tell affected people when recording is taking place and follow the privacy and recording laws that apply to your location. Use visible notices where appropriate, limit the field of view to the area you are responsible for, protect stored footage with strong access controls, and delete recordings when they are no longer needed.
A well-designed DIY camera project should be reliable, maintainable, and transparent. By focusing on compatible parts, stable power, careful testing, and responsible placement, you can create a practical compact camera system without turning an electronics experiment into an invasion of privacy.