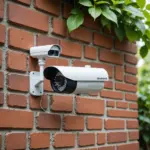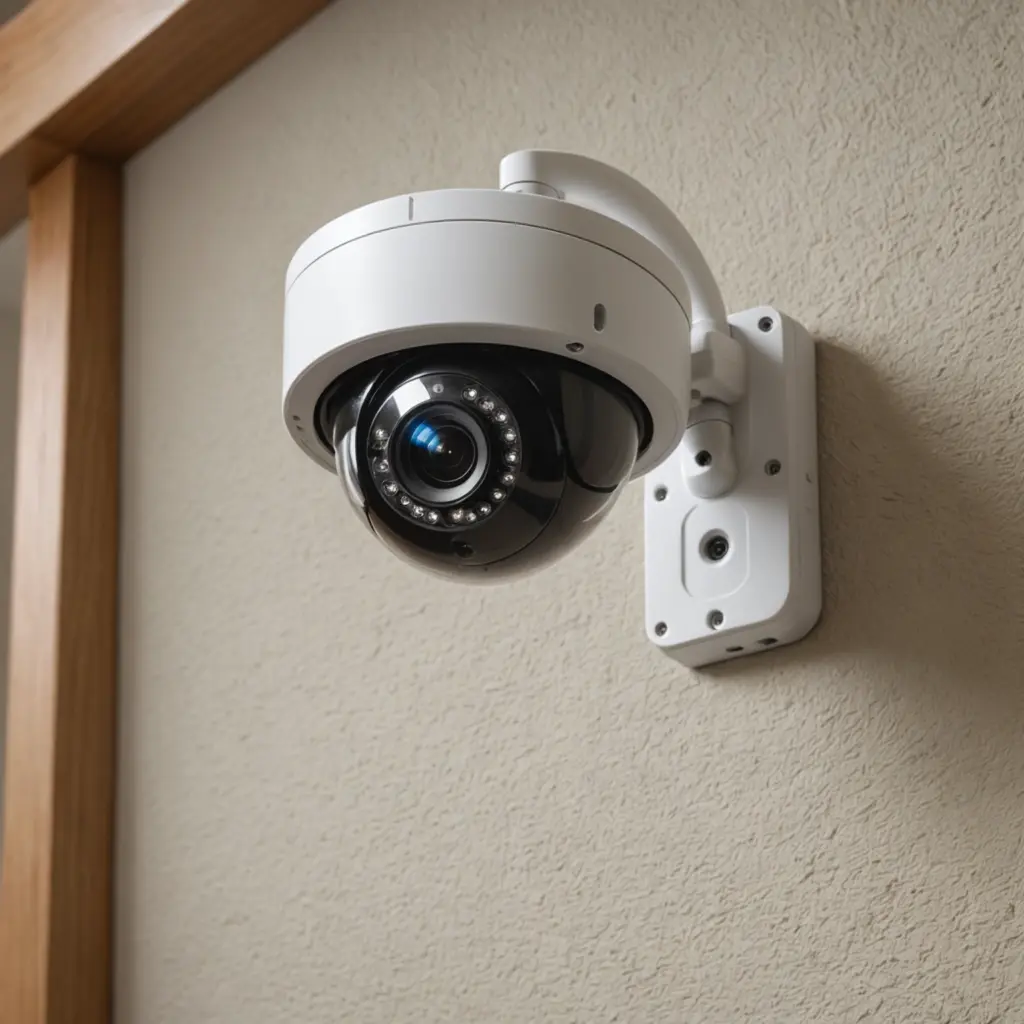

A hidden camera housing does more than conceal a camera. The right enclosure protects the device from weather, dust, accidental contact, and tampering while helping it blend into its surroundings. Whether the goal is property security, supervised care, or wildlife observation, the housing should support clear video without obstructing the lens, microphone, infrared illumination, power supply, or network connection.
Common Types of Hidden Camera Housing
Camera housings range from simple protective cases to enclosures designed to resemble ordinary objects or parts of a building. The best choice depends on the installation environment and the amount of protection required.
- Indoor decorative housings: These may be integrated into clocks, ornaments, shelves, or other room features. They should match the surroundings without blocking the camera’s field of view.
- Dome-style enclosures: A compact dome can look like a conventional building fixture while protecting the camera from casual contact.
- Outdoor protective cases: Weather-resistant housings help shield cameras from rain, dust, sunlight, and temperature changes. Look for suitable seals and an outdoor protection rating, such as IP65 where appropriate.
- Tamper-resistant housings: Screw-secured covers, reinforced mounts, and sturdy materials can be useful in busy public or commercial areas.
- Camouflaged housings: Outdoor enclosures can be matched with eaves, soffits, planters, or surrounding vegetation, provided the disguise does not interfere with safe operation.
Plastic is lightweight and often suitable for indoor use, while aluminum and polycarbonate can provide greater durability for demanding installations. Material choice should also account for heat buildup, especially when a camera is exposed to direct sunlight.
How to Choose the Right Enclosure
Start with the camera itself. Measure its length, width, height, lens position, and cable connections before buying or building a housing. The enclosure must leave enough room for ventilation and routine access, particularly if the camera uses removable batteries or requires occasional adjustment.
Next, assess the environment. An outdoor housing needs protection from moisture and should be mounted securely against wind and vibration. An indoor disguise should fit the room naturally and provide a clear view of the intended area. Consider the camera’s lens angle as well: a wide-angle lens may need a larger opening than a narrow lens, and a tinted or thick cover can affect image quality.
Power and connectivity also influence the design. Battery-powered Wi-Fi cameras need an accessible battery compartment, while wired or PoE cameras require a practical route for cables. Avoid sharply bending cables or sealing connection points in a way that prevents future maintenance.
Installation Tips for Clear, Reliable Video
Good concealment should never come at the expense of performance or safety. Position the camera to provide a clear line of sight, but avoid aiming directly toward strong light sources. Bright windows, lamps, and reflective surfaces can cause glare, washed-out images, or unwanted reflections.
For a camera placed behind a window, mount it slightly away from the glass rather than pressing the lens against the pane. A small matte hood can reduce reflections and lens flare. Test the angle during both daytime and nighttime conditions, because interior reflections and infrared illumination may affect the image after dark. Keep the glass clean and check for condensation, particularly around double-glazed windows.
Cables should be routed without preventing the window from opening, closing, or locking. Existing trim may provide a discreet route, but do not damage weather seals or create a security gap. Flat cables can sometimes help with routing, although they still need protection from pinching and abrasion.
For outdoor installations, secure the mount to a stable surface and inspect the enclosure’s seals after installation. Do not cover ventilation openings, microphones, status indicators that are needed for setup, or infrared LEDs. A housing that looks discreet but causes overheating or poor nighttime footage is not serving its purpose.
Privacy, Consent, and Responsible Use
Before installing any concealed or discreet camera, confirm that its use is lawful and appropriate. Private areas such as bathrooms and changing rooms should never be monitored. Depending on local rules and the setting, recording in homes, workplaces, shared buildings, or public-facing areas may require notice, consent, or a clearly defined security policy.
Use cameras only for legitimate purposes such as protecting property, supporting safety, or observing wildlife without disturbing it. Inform occupants, visitors, employees, caregivers, or contractors when required, and avoid collecting more footage than necessary. When the legal position is uncertain, obtain permission from the property owner or occupants and seek local professional advice before recording.
Maintenance Checklist
Regular checks help preserve both concealment and camera performance:
- Inspect mounts, screws, seals, and cable entry points for movement or wear.
- Clean the lens cover, window glass, and housing openings carefully.
- Confirm that ventilation paths and infrared illumination remain unobstructed.
- Check batteries, power connections, storage, and network access on a planned schedule.
- Look for moisture, condensation, corrosion, or signs of overheating.
- Keep camera software and firmware maintained according to the manufacturer’s instructions.
A well-selected housing should protect the camera without drawing unnecessary attention, reducing image quality, or making maintenance difficult. Careful planning, secure installation, and respect for privacy are essential to creating a discreet monitoring setup that remains reliable and responsible.