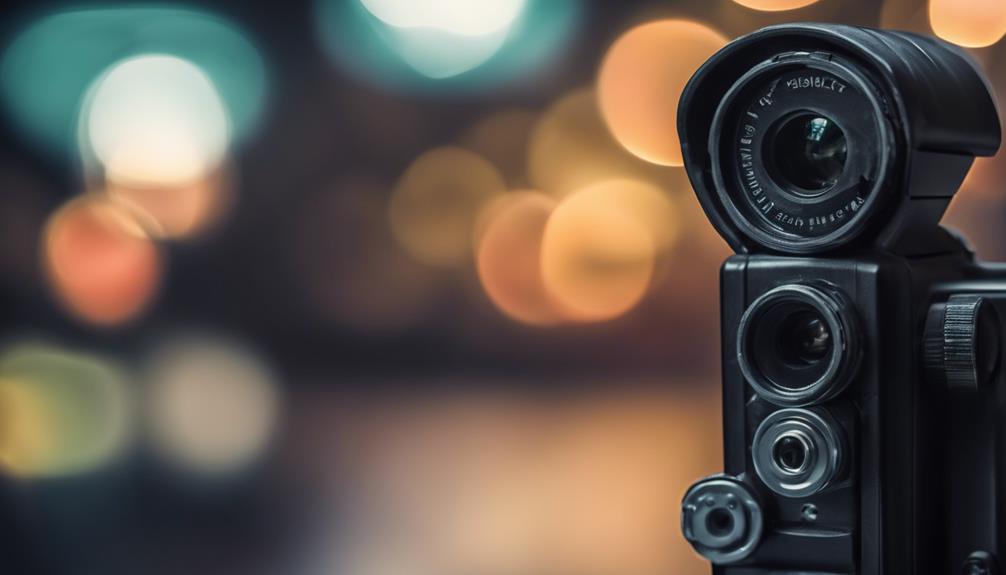

A night-vision camera with audio can capture both visual detail and sound when ordinary lighting is limited. The right choice depends on more than resolution alone: image quality, infrared performance, microphone clarity, storage, remote access, and privacy controls all affect how useful and responsible the camera will be.
Use any camera with audio only where recording is lawful and appropriate. Audio-recording rules vary by jurisdiction, and some locations require the knowledge or consent of people being recorded. Avoid placing cameras in areas where people reasonably expect privacy, and check local requirements before installation.
Key Features to Compare
Video resolution and lens quality
Resolution affects how much detail appears in recorded footage. A camera offering 1080p or higher can provide clearer images than a lower-resolution model, particularly when identifying objects within the frame. Resolution is not the only consideration, however. A good lens, suitable exposure settings, and adequate infrared illumination are also important in dark conditions.
Check the camera’s field of view as well. A wide-angle lens can cover more of a room or entrance, while a narrower view may provide greater detail over a specific area. Choose the angle according to the space rather than assuming the widest view is always best.
Night vision and infrared range
Infrared LEDs illuminate a scene with light that is generally invisible to the human eye, allowing the camera to record in darkness. Compare the stated night-vision range with the distance you actually need to cover. Test the camera in its intended position, since walls, glass, reflective surfaces, and nearby lighting can affect the result.
Some cameras automatically switch between colour and infrared modes. Look for controls that let you adjust night mode, exposure, or infrared sensitivity when the default settings produce washed-out or overly dark footage.
Audio recording
A built-in microphone can add context that video alone may not provide. For clearer recordings, choose a camera with adjustable microphone sensitivity and, where available, noise-reduction features. Placement matters just as much as the microphone itself: air vents, fans, televisions, and other electronics can introduce distracting background noise.
Audio quality should be tested from the camera’s final position. A microphone that sounds acceptable at close range may capture conversations poorly from farther away, while excessive sensitivity can make ordinary background noise dominate the recording.
Recording, Storage, and Remote Viewing
Review how the camera stores footage before buying or installing it. Depending on the model, recordings may be saved to a memory card, a local recording device, or cloud storage. Consider the recording length you need, how easily footage can be exported, and what happens when storage becomes full.
Remote viewing can provide access to live footage through a phone, tablet, or computer. If remote access is available, use strong account credentials and enable additional security controls offered by the camera or its application. Encrypted connections and secure data transmission are valuable safeguards, especially when footage or audio is accessed over the internet.
Installation and Positioning
- Choose a position that covers the intended area without creating unnecessary blind spots.
- Mount the camera securely and keep it away from sources of vibration or accidental movement.
- Position the microphone away from vents, loud appliances, and other sources of interference.
- Avoid aiming directly at bright lights or reflective surfaces, which can reduce image quality.
- Test daytime video, night vision, motion detection, and audio before relying on the camera.
Camera placement should support legitimate security or monitoring needs without attempting to record private activity. If other people may be captured, provide any notices or obtain any consent required by applicable law.
Motion Detection and Ongoing Maintenance
Motion detection can reduce the amount of unnecessary footage and make important events easier to find. Look for adjustable sensitivity or activity zones so the camera can ignore areas such as moving branches, busy roads, or changing shadows. Excessive sensitivity may create frequent false alerts, while a setting that is too low can miss relevant movement.
After installation, check the camera periodically. Confirm that the lens is clean, night vision still reaches the required area, storage is available, and the time and date are accurate. Review access permissions and update passwords when necessary. Regular testing helps identify problems with power, connectivity, audio, or recording before footage is needed.
Making the Final Choice
Start by identifying the area to be covered, the expected lighting conditions, whether audio is legally permitted, and how recordings will be stored. Then compare resolution, field of view, infrared range, microphone performance, motion detection, remote access, and security features.
The best night-vision camera with audio is not simply the one with the most features. It is the model that delivers clear footage and understandable sound in its actual installation location, stores recordings reliably, protects access to them, and can be used in compliance with privacy and recording laws.