
A Raspberry Pi can serve as the foundation for a compact camera project that captures video, provides a live feed, and records activity when motion is detected. Use this setup only where you have permission to monitor, and make sure people are informed when recording may affect them. Avoid placing cameras in private areas or using them to record people without their consent.
1. Choose compatible hardware
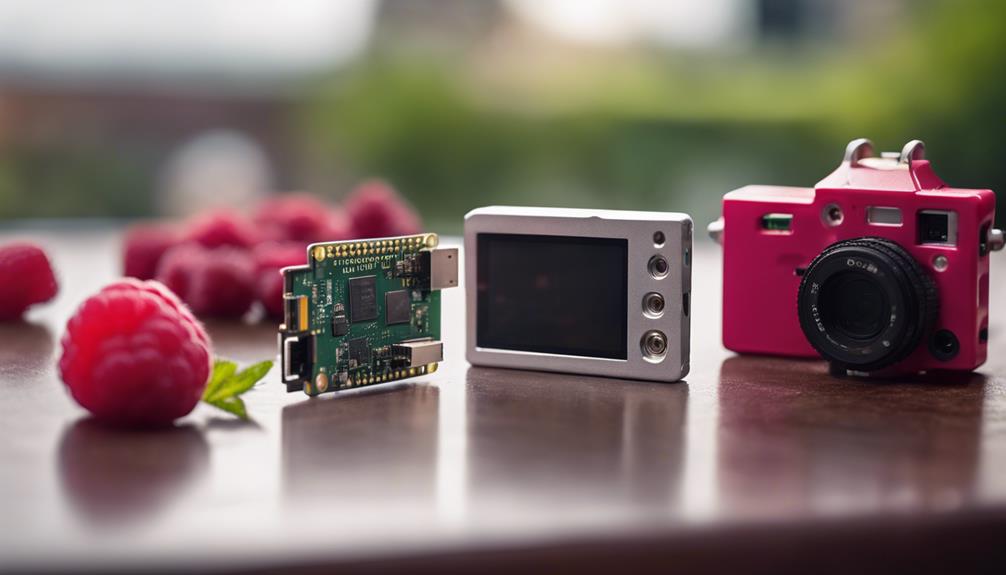
Start with a Raspberry Pi model, a reliable power supply, a compatible microSD card, and a camera module. The official Raspberry Pi Camera Module is one option, while other compatible modules may provide features such as a wider viewing angle, higher resolution, or night vision.
Check that the camera matches your Raspberry Pi model and that you have the correct ribbon cable or adapter. A case can protect the board, but it must leave the camera connector and ventilation areas accessible.
2. Install the operating system
Download a Raspberry Pi operating system image from the official source and write it to the microSD card with an imaging tool such as Etcher. If the tool offers verification, use it to confirm that the image was written correctly.
Insert the card into the Raspberry Pi and connect power. If you plan to manage the camera over a network, configure the wireless connection during setup or connect the Pi by Ethernet. Use a stable power supply; unreliable power can cause failed boots, corrupted storage, or interrupted recordings.
3. Connect the camera module
Shut down and unplug the Raspberry Pi before installing the camera. Locate the camera connector, gently release its retaining tab, and insert the ribbon cable in the correct orientation. Secure the tab before reconnecting power.
Do not force the cable into the connector. If the camera produces a black image, distorted output, or no image at all, power down again and check the cable alignment and connection. Also confirm that the camera is supported and enabled by the software installed on your Pi.
4. Configure the camera software
Open the camera application or tools included with your operating system and select the connected camera. Begin with moderate settings so it is easier to test the system. Depending on the software and camera module, useful controls may include:
- Image or video resolution
- Frame rate
- Exposure and white balance
- Focus, where supported
- Video format and storage location
Higher resolution and frame rates can require more processing power and storage. Adjust one setting at a time and check the result rather than choosing the most demanding configuration immediately.
5. Position and test the camera
Place the camera so it covers the intended area without pointing into spaces where recording would violate privacy. Test several angles and distances, checking the field of view, focus, brightness, and color accuracy.
Make a short recording and review it on another device. If you need a live feed, confirm that it can be accessed from an authorized device on your network. Check for delays, dropped frames, and overheating during an extended test. These checks can reveal problems with the power supply, network connection, storage, or camera placement.
6. Add motion-triggered recording
Motion detection can reduce unnecessary recordings by starting capture only when movement is detected. Configure the camera software or a compatible motion-detection program to watch the desired area and save clips to a specified directory.
Set the detection sensitivity carefully. A setting that is too high may trigger on changing light, shadows, or small background movements, while a setting that is too low may miss useful activity. Test the system at different times and adjust the detection area if the software allows it.
Keep notification settings restrained and secure. Alerts should be sent only to authorized recipients, and recordings should be protected from unauthorized access.
7. Secure and maintain the project
If the Raspberry Pi is reachable over a network, change default credentials and use secure remote-access methods. A VPN or another protected connection is preferable to exposing the camera directly to the public internet. Limit access to the people who need it and store recordings where permissions are controlled.
Finally, check the camera periodically. Confirm that recordings are being saved, storage has not filled up, the lens remains clean, and the Pi has adequate ventilation. Delete footage according to a clear retention policy instead of keeping recordings indefinitely.
Final checks
A Raspberry Pi camera project becomes much more reliable when it is tested in realistic conditions before being relied upon. Verify the hardware connection, camera settings, recording behavior, motion sensitivity, remote access, and privacy controls. With those pieces in place, the result is a flexible monitoring project that can be adapted without turning it into an intrusive hidden recording device.