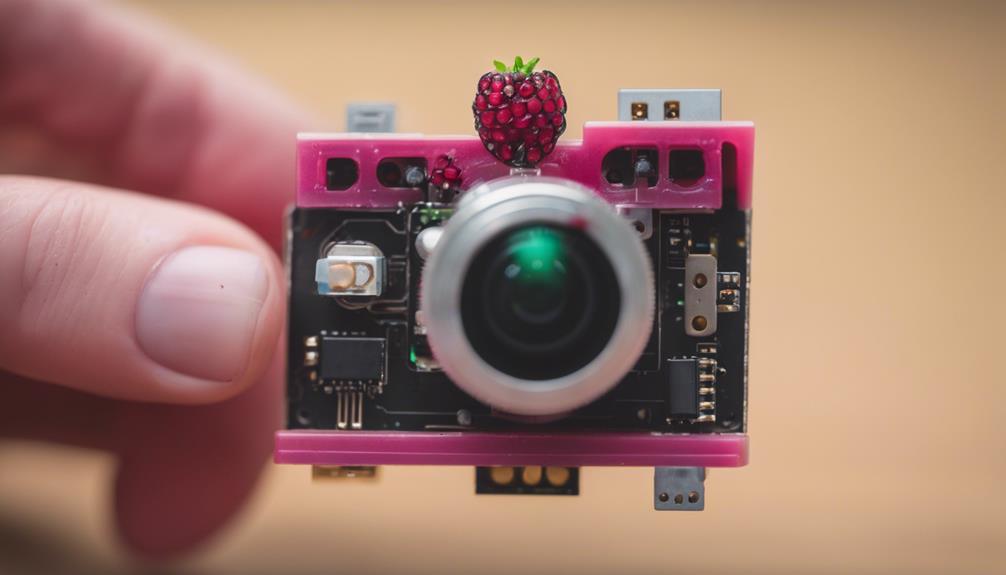

A Raspberry Pi can power a compact camera system for legitimate, consent-based uses such as monitoring a workshop, checking on equipment, observing wildlife, or watching an entrance to your own property. The project can capture still images or video when movement is detected, but it should never be used to record people in private spaces or without their knowledge. Check applicable privacy and recording laws before installing the camera.
What You’ll Need
- A Raspberry Pi board compatible with your chosen camera module
- A supported Raspberry Pi camera module and ribbon cable
- A microSD card for the operating system and captured media
- A reliable power supply
- A network connection if you want remote access
- A suitable case or mounting bracket
- Optional lighting for dim environments
Choose the camera module according to the conditions in which it will operate. A standard module may be sufficient for a well-lit room, while a higher-quality or infrared-capable module can be more useful for low-light scenes. Confirm that the camera and operating system are compatible with your Raspberry Pi model before assembling the system.
Prepare the Raspberry Pi
Install the operating system on the microSD card, insert it into the Raspberry Pi, and connect the board to a monitor, keyboard, and network during the initial setup. Create a strong password, apply available software updates, and configure the correct date, time, and network settings.
Using a wired network connection during setup can make troubleshooting easier. If you plan to use Wi-Fi, verify that the Pi remains connected reliably from its intended installation point before enclosing or mounting it.
Connect the Camera Module
Power off the Raspberry Pi before connecting the camera. Release the locking tab on the camera connector, align the ribbon cable with the contacts facing the correct direction, and insert it fully before securing the tab. The cable should sit straight and firmly in the connector.
After reconnecting power, open the camera application or command-line tools supplied with the operating system and capture a test image. A black image, missing camera, or distorted picture usually indicates an incorrectly seated cable, an unsupported module, or a software configuration problem. Disconnect power before reseating the cable.
Choose a Responsible Camera Location
Position the camera so it covers the intended area without recording spaces where people reasonably expect privacy. Avoid bedrooms, bathrooms, changing areas, and neighbouring property. If other people may appear in the footage, provide clear notice and obtain the consent required in your location.
Mount the camera securely and keep the lens unobstructed. Test several heights and angles to reduce blind spots, glare, and unwanted areas in the frame. A visible installation and a clearly marked monitoring area are preferable to disguising the device.
Configure Motion Detection
Use motion-detection software that can trigger a still image or video recording when the scene changes. Begin with moderate sensitivity and adjust it after observing normal activity in the area. Excessive sensitivity can create false alerts from shadows, curtains, reflections, or changing light.
Test the system by walking through the monitored area and then leaving it undisturbed. Review the results and adjust the camera angle, detection zone, and sensitivity. If the software supports exclusion zones, omit areas such as roads or neighbouring entrances that do not need to be recorded.
Improve Image Quality
Good lighting often improves results more than simply increasing resolution. Avoid pointing the lens directly at bright windows or lamps, and use steady, even illumination where possible. For nighttime monitoring, use appropriate visible or infrared lighting only in areas where recording is permitted. Check that any infrared light does not cause reflections from nearby glass or glossy surfaces.
Record a short test under both daytime and nighttime conditions. Confirm that faces, objects, or equipment relevant to the project remain identifiable without capturing more of the surrounding area than necessary.
Secure Remote Viewing and Storage
If remote viewing is needed, use a method that encrypts the connection, such as a properly configured VPN or another secure access solution. Avoid exposing the camera directly to the public internet through unnecessary router ports. Use unique credentials, disable accounts and services you do not need, and keep the operating system and camera software updated.
Store only the footage required for the stated purpose. Protect the microSD card and any backups with access controls or encryption where available, and establish a deletion schedule rather than keeping recordings indefinitely. If cloud storage is used, review its security settings and understand where the files are stored.
Plan for Reliable Power
A stable power supply helps prevent corrupted files and unexpected shutdowns. For unattended installations, consider a suitable battery backup, but test the complete setup to learn how long it can operate. Make sure cables are protected from damage and that the case has adequate ventilation. Do not place the Raspberry Pi or power equipment where moisture or excessive heat could create a hazard.
Test Before Regular Use
Run the camera for an extended test and check motion triggers, image quality, network access, storage capacity, and restart behaviour. Confirm that alerts are useful rather than excessive and that the camera records only the area covered by your stated purpose.
A Raspberry Pi camera is most effective when it combines careful placement, dependable power, sensible motion settings, and strong security. Building the system openly and using it with consent makes the project practical while respecting the privacy of everyone who may enter its field of view.