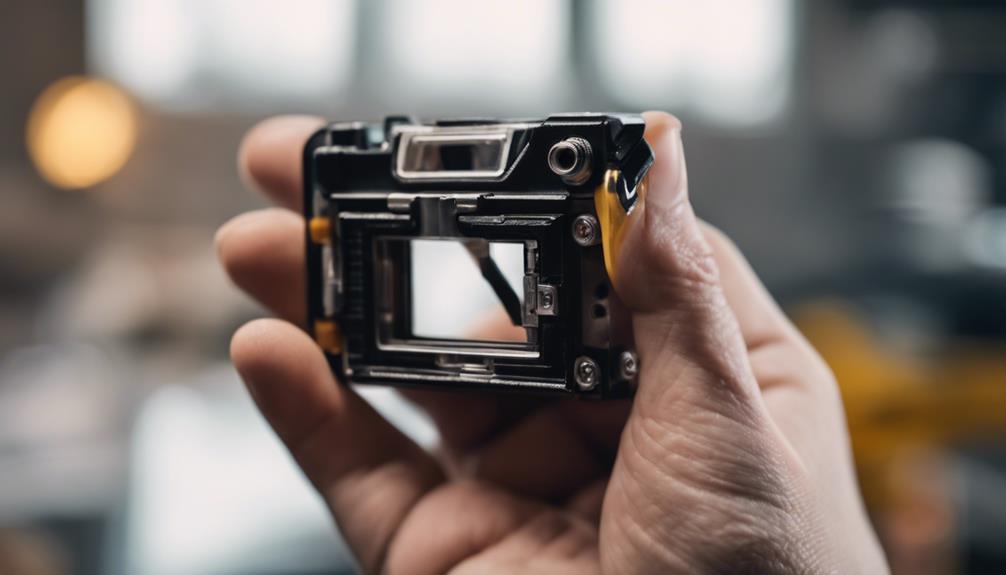

Replacing a spy camera battery is usually straightforward, but the exact process depends on the camera’s design. Some models have a removable battery behind a small cover, while others use a built-in rechargeable battery that should not be removed by the user. Before opening the camera, check the product manual and confirm that battery replacement is supported.
What You’ll Need
- A replacement battery made for your camera model
- A small screwdriver, if the compartment is secured with screws
- A clean, dry cloth
- A phone or camera for recording the original wire arrangement, if needed
Do not choose a replacement based only on its physical size. The battery type, voltage, connector, polarity, and capacity should match the requirements listed by the camera manufacturer. Using an incompatible battery can prevent the camera from working and may damage the device.
Step 1: Turn Off the Camera and Open the Compartment
Switch off the camera and disconnect it from any charging cable or power source. If the device has been operating or charging, allow it to cool before handling the battery.
Look for the battery compartment on the rear, underside, or side of the camera. It may be held closed with a latch or one or more small screws. Place the camera on a clean, stable surface and remove the cover carefully. Keep the screws in a safe place so they are not lost during the replacement.
If the battery is sealed inside the camera rather than placed in a user-accessible compartment, do not pry open the casing. Forcing the enclosure can damage the camera, battery, or internal wiring. In that situation, follow the manufacturer’s service instructions instead.
Step 2: Remove the Old Battery
Before disconnecting anything, examine how the battery is positioned. If wires and a plug are visible, take a quick reference photo or note which side connects to each terminal. This helps you install the replacement with the correct polarity.
Disconnect the battery by holding the connector rather than pulling on the wires. Work slowly, especially if the plug fits tightly. Avoid using metal tools to force the connector out, and do not bend, puncture, crush, or squeeze the old battery.
Inspect the compartment while it is empty. If you see dirt on the contacts, wipe it gently with a clean, dry cloth. Do not apply liquid directly to the camera or battery contacts.
Set the old battery aside for proper recycling or disposal. Batteries should not be placed in ordinary household rubbish when a local battery collection point or recycling service is available. Follow the disposal guidance that applies in your area.
Step 3: Install and Test the Replacement
Compare the new battery with the old one before connecting it. Check that the connector, shape, markings, and terminal arrangement match the camera’s requirements.
Position the replacement battery in the compartment without forcing it into place. Connect the plug securely, matching the positive and negative terminals exactly as indicated by the camera or battery markings. A connector that does not fit easily may be the wrong type; do not modify it or reverse the connection.
Arrange the wires so they are not pinched beneath the cover. Close the compartment and tighten the screws only until the cover is secure. Over-tightening can damage a small plastic housing or strip the screw threads.
Turn on the camera and check that it starts normally. If the model displays a battery level, allow the reading time to update. If the camera does not power on, switch it off again and check the connector, terminal orientation, compartment cover, and battery compatibility.
Battery Care After Replacement
- Use the charging cable or charger specified for the camera.
- Keep the battery contacts clean and dry.
- Avoid exposing the camera to excessive heat, moisture, or direct sunlight for long periods.
- Store the camera in a cool, dry place when it is not being used.
- Stop using the battery if it becomes swollen, unusually hot, damaged, or begins leaking.
A careful replacement protects the camera and reduces the risk of wiring or battery damage. When the battery is built in, the correct approach is to use the model’s service instructions rather than attempting to remove it by force.