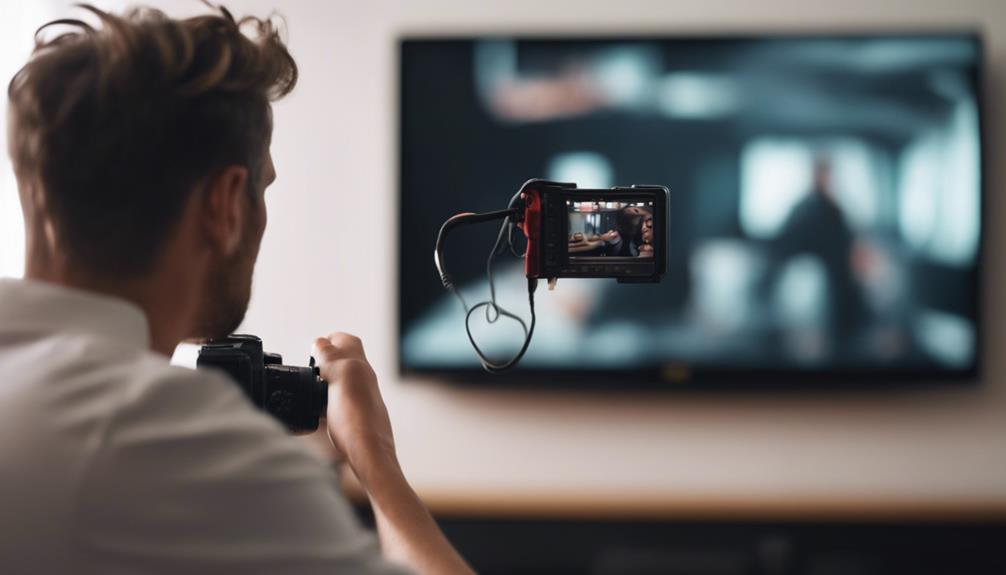

Connecting a small security camera to a television can let you view its live feed on a larger screen. Before you begin, use the camera only where monitoring is lawful and respect the privacy of everyone who may be recorded. Do not place a camera in private areas or use it to monitor people without the required permission.
Check the camera and TV compatibility
The connection method depends on the camera’s video output and the inputs available on the television. Check the labels on both devices and consult their manuals before buying cables or adapters.
- HDMI: Some cameras provide digital video through an HDMI output. This can connect directly to an available HDMI input on the TV.
- Composite or RCA: Older cameras may use a yellow video connector, sometimes alongside red and white audio connectors. These require matching AV inputs on the television.
- USB: A USB socket may provide power or allow file transfers, but it does not necessarily send a live video signal to the TV. Do not assume that a USB-to-HDMI cable will work unless the camera specifically supports that function.
- Network or Wi-Fi: IP cameras generally send video through a network rather than through a direct TV cable. Viewing may require a compatible app, streaming device, computer, or TV platform.
Older televisions may not accept the signal produced by a newer digital camera, and a TV without the required input cannot display the camera feed without suitable conversion equipment.
Gather the correct equipment
Prepare the cable that matches the camera’s video output and the TV’s input. You may also need the camera’s power adapter, a battery with sufficient charge, or a compatible converter for different video standards. Use an adapter designed for the specific direction of the connection. For example, an adapter intended to send HDMI to an analog display may not work in reverse.
Keep the camera’s manual nearby. It can identify which port provides live video, explain whether a menu setting is required, and show the correct power requirements.
Connect the camera to the television
- Turn off the camera and, if practical, the television before attaching cables.
- Connect the video cable to the camera’s video-output port.
- Connect the other end to the matching input on the TV. For composite connections, match the plugs to the corresponding colors and labels.
- Connect the camera to its approved power source and switch it on.
- Turn on the television and open its input or source menu.
- Select the input that matches the socket used, such as HDMI 1, HDMI 2, AV, or Video.
If the camera and TV support the same signal, the live image should appear after a short delay. Some cameras show a startup screen or require you to select a live-view mode before transmitting video.
Adjust the image and camera settings
Once the feed is visible, use the camera controls or its companion software to adjust settings supported by the model. Useful options may include resolution, image orientation, night mode, motion detection, and recording behavior. Set the TV’s brightness and contrast only after confirming that the camera is transmitting a clear image.
If the camera connects through Wi-Fi or a network, follow the manufacturer’s setup process rather than attempting to treat the camera’s USB port as a video output. In that arrangement, the TV may need a compatible application or another device capable of receiving the network stream.
Troubleshoot a missing or poor picture
- No signal: Confirm that the camera is powered on, the cable is fully inserted, and the TV is set to the correct input.
- Wrong input selected: Try each TV input that corresponds to a connected cable, especially if the ports are numbered.
- Black screen: Check whether the camera is outputting live video and whether the TV supports that signal format or resolution.
- Unstable image: Test another compatible cable, remove unnecessary adapters, and keep power and video connections secure.
- No audio: Many small cameras transmit video only. If audio is supported, verify the audio connection and the TV’s volume and mute settings.
- Network viewing problems: Check the camera’s network connection and confirm that the viewing app or device is compatible with the camera.
If the feed still does not appear, compare the camera’s output specifications with the television’s input requirements and consult both user manuals. Avoid forcing a connector or using an unverified power adapter, as incompatible equipment can damage the devices.
Use the setup responsibly
A TV display can make it easier to observe an authorized security feed, but it does not change the camera’s privacy obligations. Inform people when recording is required, follow applicable laws and property rules, and secure any saved footage or connected accounts with strong access controls.