
Setting up a spy camera live feed involves more than placing a small camera and opening an app. You need to choose suitable equipment, position it responsibly, connect it securely to your network, and test the stream before relying on it.
Before installation, check the laws and rules that apply where you live. Do not record people in places where they reasonably expect privacy, and obtain consent when required. A discreet camera should be used only for a legitimate, lawful purpose.
1. Choose a Camera That Fits the Situation
Start by identifying what you need the camera to cover and how you plan to view the feed. A wireless model can make installation easier and reduce visible cabling, while a wired connection may provide more consistent network performance in areas with weak Wi-Fi.
Pay attention to these specifications:
- Resolution: Select an image quality that makes important details visible without using more bandwidth than necessary.
- Field of view: A wider view can cover more space, but may make objects appear smaller.
- Low-light performance: Check whether the camera can produce usable footage in the lighting conditions where it will operate.
- Power source: Confirm whether it uses a wall adapter, rechargeable battery, or another power method.
- Remote viewing: Make sure the camera supports the app or web interface you intend to use.
- Wireless range: Consider the distance between the camera, router, and any walls or obstructions.
A compact design can help the camera fit neatly into an approved monitoring location, but concealment should never be used to defeat privacy protections or applicable consent requirements.
2. Position and Secure the Camera
Choose an angle that covers the intended area without pointing into bedrooms, bathrooms, changing areas, or other private spaces. Avoid placing the camera where glare, bright windows, or moving objects will dominate the image.
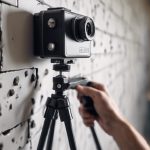
Mount the camera firmly so that its view does not shift. A stable mounting point also makes it less likely that vibration or accidental contact will interrupt the feed. Keep the camera and power cable away from heat, moisture, and locations where the equipment could be easily damaged.
After mounting, view the image from the camera’s app and adjust the angle. Check the edges of the frame for blind spots, and confirm that the selected position does not capture areas you are not permitted to record.
3. Connect the Camera to Your Network
Follow the manufacturer’s setup process to join the camera to your Wi-Fi network or connect it by Ethernet. Use a strong, unique password for the camera account, and change any default credentials before enabling remote access.
If your router supports it, reserve an internal IP address for the camera through its DHCP settings. This keeps the camera’s local address consistent and makes later configuration more predictable.
For remote viewing, prefer the camera’s supported secure access method or a trusted VPN where available. If you must configure port forwarding, forward only the required service, use a non-default administrator password, and disable the rule when remote access is no longer needed. Exposing a camera directly to the internet can increase the risk of unauthorized access.
4. Configure the Live Feed
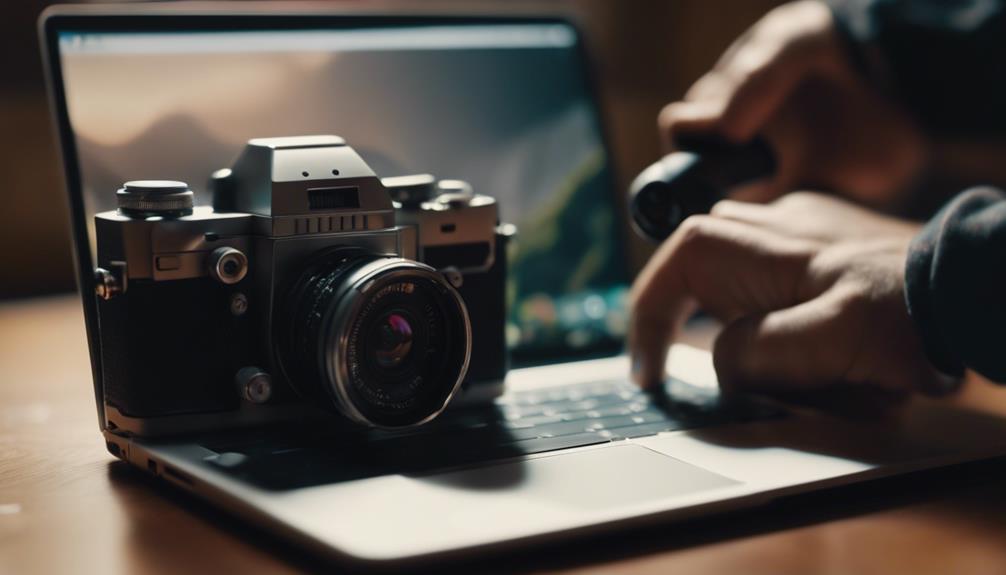
Open the camera’s app or web interface and locate the video or streaming settings. Adjust the following options:
- Resolution: Use a higher setting when detail matters and a lower setting when bandwidth is limited.
- Frame rate: Choose a setting that provides smooth motion without causing delays or dropped frames.
- Compression: Increase compression if the stream is consuming too much bandwidth, while checking that the image remains useful.
Test the feed from the camera’s installation location rather than beside the router. Watch for buffering, frozen video, delayed audio, or repeated disconnections. If Wi-Fi performance is unreliable, move the router or use a wired connection where practical.
5. Test, Monitor, and Troubleshoot
Run a complete test before depending on the system. Confirm that the camera remains powered, the live view loads on the intended device, and the image covers the correct area. Test both local viewing and approved remote access separately.
If the feed stops working, work through these checks:
- Confirm that the camera has power and that its indicator or status screen shows a normal connection.
- Check the router and internet connection.
- Move the camera closer to the access point or test a wired connection.
- Review the camera’s account, network, and remote-access settings.
- Install a manufacturer-provided firmware update when appropriate.
- Restart or reset the camera only after recording any settings you may need to restore.
Review the live feed regularly and protect access to the account and viewing devices. A properly positioned, securely configured camera is more reliable—and more respectful of privacy—than a system focused only on concealment.