
A drywall-mounted camera can provide useful security coverage without dominating the appearance of a room. The goal should be a neat, low-profile installation—not a concealed device intended to record people without their knowledge. Before beginning, obtain permission from everyone who may be recorded, follow applicable privacy rules, and avoid bedrooms, bathrooms, changing areas, and other places where people reasonably expect privacy.
Plan the installation first
Choose a camera position that covers the intended entryway or shared area while remaining visible enough to communicate that recording is taking place. Avoid pointing the camera toward a neighbor’s property, private windows, or areas outside your authority.
Check the proposed location for a clear view, suitable lighting, and access to power or an approved low-voltage cable route. Do not install over electrical wiring, plumbing, or other hidden services. A stud finder can help identify framing, while a level, measuring tape, and pencil make it easier to position the mount accurately.
Tools and materials
- Camera and manufacturer-supplied mounting bracket
- Stud finder, measuring tape, pencil, and level
- Drill and suitable drill bits
- Drywall anchors or screws appropriate for the wall and camera weight
- Screwdriver and, if needed, a small pilot-hole bit
- Cable clips or raceway for tidy, visible cable management
- Patch compound, fine sandpaper, primer, and matching paint for minor wall repairs
Choose the right mounting method
Use a stud whenever the camera and bracket can be positioned over one. A screw driven into framing generally provides stronger support than a drywall-only fastener. If a stud is unavailable, select drywall anchors rated for at least the camera’s weight and follow the anchor manufacturer’s instructions.
Do not substitute undersized or decorative fasteners simply to make the installation less noticeable. The camera should remain secure, and the mounting hardware should be accessible for maintenance. If the camera includes a tamper-resistant screw or security fitting, use it only as directed by the manufacturer and never modify the device to conceal its presence.
Prepare and mount the camera
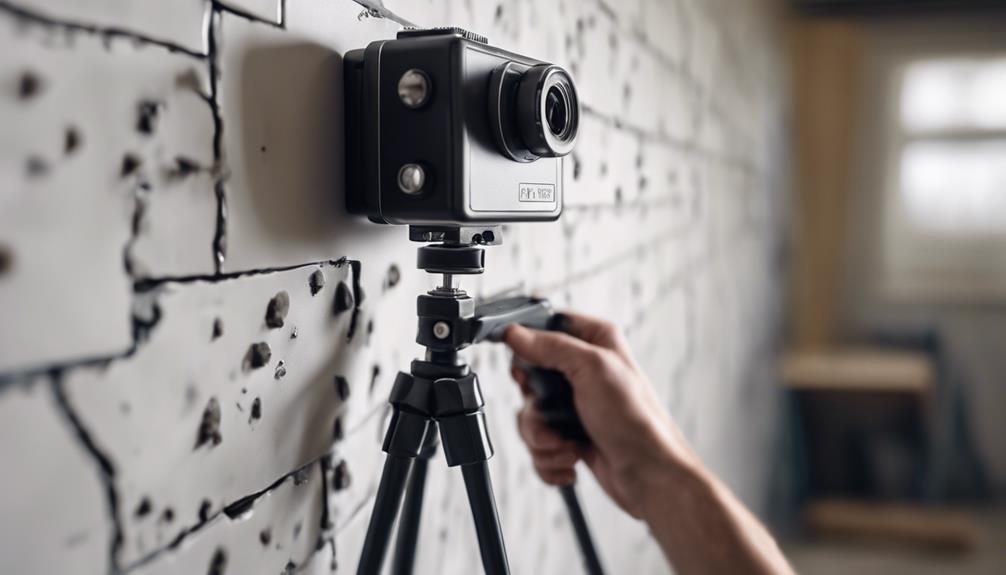
- Hold the bracket against the wall and confirm that the planned position provides the required view.
- Use a level to align the bracket, then mark the screw or anchor locations.
- Check once more for hidden wiring or plumbing before drilling.
- Drill pilot holes where required. For drywall anchors, make the opening the size specified on the anchor packaging.
- Install the anchors or drive the screws into the stud, leaving the correct amount of clearance for the bracket.
- Attach the bracket and tighten the hardware evenly. Do not overtighten, since this can crush drywall or damage the bracket.
- Connect the camera and route its cable neatly along the wall using clips or a surface-mounted raceway.
Keep cables safe and orderly
Use only the power adapter and cable supplied or approved for the camera. Keep cables away from heat, sharp edges, walkways, and areas where they can be pulled. Do not run power cords inside a wall unless the product and installation method are specifically approved for in-wall use. For permanent wiring, consult a qualified electrician rather than feeding an ordinary extension cord through the drywall.
Test the view and settings
After mounting, check the live image from the intended viewing position. Adjust the tilt and rotation so the camera covers the relevant area without unnecessary views into private spaces. Review the image in both bright and dim conditions, watching for glare, deep shadows, or strong backlighting.
Test motion detection by walking through the monitored area with permission. Set sensitivity and activity zones to reduce irrelevant alerts, such as passing traffic or movement outside the property. Confirm that recording, notifications, date and time settings, and local or cloud storage work as expected.
Finish the wall neatly
If the installation leaves small marks or unused holes, remove the hardware, apply a small amount of patch compound, let it dry, and sand it smooth. Prime repaired areas before applying matching paint. Keep the camera and its ventilation openings free of paint, dust, and filler.
A secure, clearly disclosed, low-profile installation offers dependable coverage while respecting the privacy of the people and spaces within view. Recheck the mount and cable condition periodically, and update the camera’s access credentials and software according to the manufacturer’s guidance.