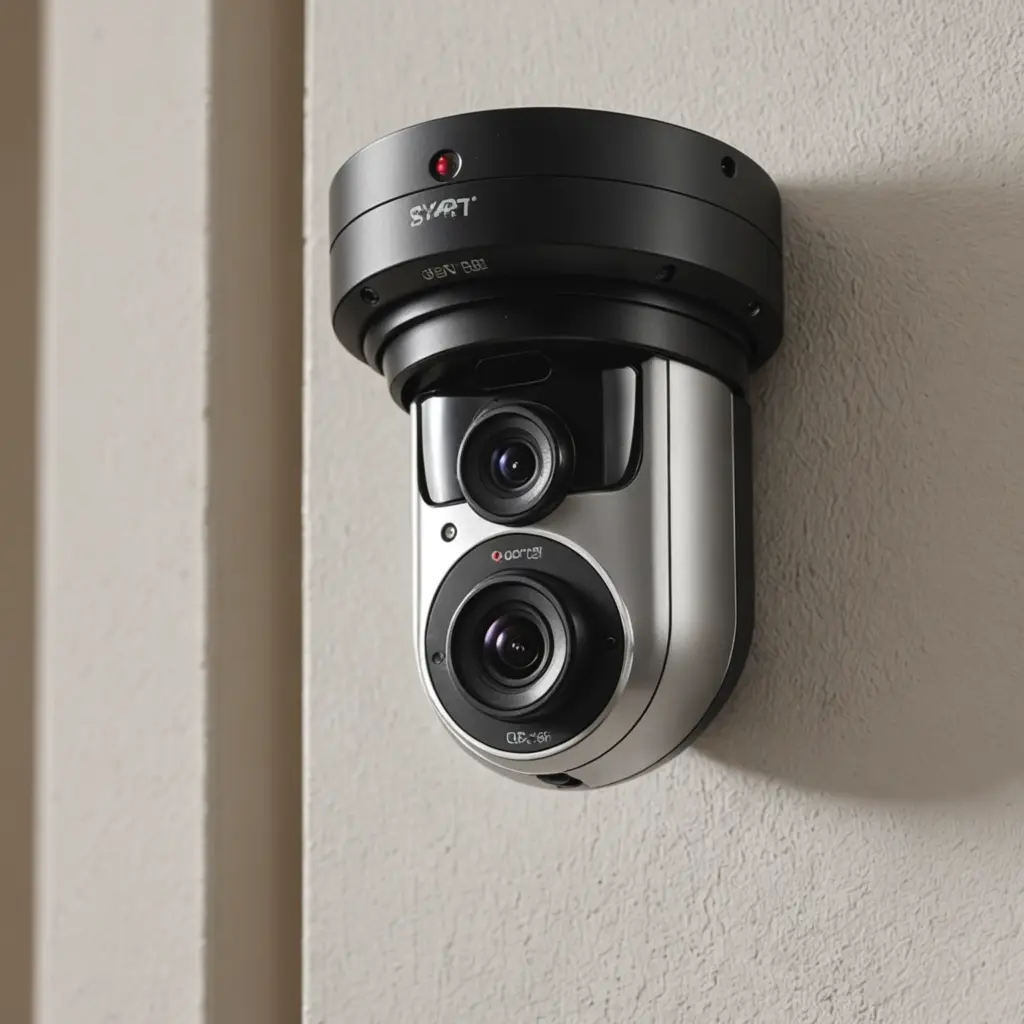

Vent-style cameras are designed to blend into or sit behind a ventilation grille while monitoring a defined area. The legacy list covers ten configurations, including compact, wireless, high-definition, motion-activated, night-vision, rotating, smart-home, battery-powered, and ultra-thin designs. These features can be useful for legitimate security monitoring, but hidden cameras also create significant privacy and legal concerns.
Use any surveillance device only where you have the authority to monitor, and follow applicable laws and building rules. Do not place a camera in bedrooms, bathrooms, changing areas, or other private spaces. In workplaces or shared properties, clear notice or consent may be required. A visible, openly disclosed camera is often the safer choice when covert monitoring is unnecessary.
Ten vent-camera configurations to compare
1. Mini vent camera
A compact camera can be less noticeable and easier to position than a larger unit. Its usefulness depends on having an unobstructed view through the grille. Before installation, check that the vent cover does not block the lens and that the camera can be accessed for inspection or removal.
2. Wireless vent surveillance device
Wireless operation can simplify installation by reducing the need for a video cable. Some designs are intended for remote viewing or access to recorded footage. Wireless equipment still requires careful attention to network security, power availability, and the location of the receiver or access point.
3. HD vent camera
A high-definition camera is intended to produce clearer footage than a lower-resolution device. Image quality also depends on lighting, lens position, compression, and the distance to the area being monitored. Test the view in advance rather than assuming that an HD label guarantees useful identification.
4. Motion-activated vent cam
Motion activation records when movement is detected instead of continuously capturing video. This can reduce the amount of stored footage and make review easier. Adjust the detection area carefully to limit false triggers from airflow, shadows, pets, or normal activity.
5. Night-vision vent recorder
Night-vision capability is intended for low-light monitoring. Performance varies with available light, the camera’s viewing angle, and nearby surfaces that may reflect infrared illumination. Test the camera after dark to confirm that the image remains usable and that the vent opening does not obstruct the view.
6. Wi-Fi vent camera
A Wi-Fi model may provide live viewing or remote access through a compatible device. Protect the associated account with a strong unique password and any available security controls. Remote access should be enabled only when it is necessary, and recordings should be stored and shared responsibly.
7. 360-degree rotating vent camera
A rotating camera can cover multiple directions, potentially reducing blind spots. However, a wider viewing range does not remove the need for careful positioning. Set boundaries so the camera observes only the intended area, particularly when nearby rooms, walkways, or neighbouring properties are visible.
8. Smart-home vent monitoring system
A smart-home configuration may connect vent monitoring with other home devices or a central control system. Integration can make alerts and access more convenient, but it also increases the importance of account management, software updates, and reviewing which people or services can view the footage.
9. Battery-powered vent surveillance unit
Battery operation can help where running a cable is impractical and may allow more flexible placement. Check expected battery life, charging access, and whether recording stops when power is low. A device that cannot be reached safely for maintenance is not a dependable security solution.
10. Ultra-thin vent security camera
An ultra-thin design is intended to fit discreetly near or behind a vent cover. Confirm that installation does not restrict ventilation, create a heat buildup, damage the grille, or interfere with heating and cooling equipment. The camera should remain accessible for servicing and removal.
Installation and maintenance checklist
- Choose a location that monitors only the authorised area.
- Confirm that the lens has a clear line of sight and adequate lighting.
- Avoid blocking airflow or altering electrical and HVAC components.
- Secure cables, batteries, and mounting hardware so they cannot become hazards.
- Test live viewing, recording, motion detection, and night performance before relying on the device.
- Clean the lens periodically and inspect the camera for damage or condensation.
- Set a retention period for recordings and delete footage that is no longer needed.
Choosing the right approach
Start with the security objective rather than the camera’s appearance. Motion activation may suit a doorway or storage area, while night vision may matter more in a poorly lit location. Wireless and remote-access features add convenience, but they also require stronger privacy and account controls. When people may be recorded, transparent notice and consent should take priority over concealment.