
Setting up a mini spy IP camera is usually a simple process: prepare the device, connect it to your wireless network, and adjust the recording options. Exact menu names and included accessories may vary by model, so keep the supplied manual nearby while completing these steps.
Before using any camera, make sure its placement and recording comply with applicable laws and respect the privacy of everyone in the area. Do not use a camera in places where people reasonably expect privacy, and obtain consent where recording audio or video requires it.
Step 1: Unbox, charge, and choose a suitable position
Carefully remove the camera and its accessories from the packaging. Depending on the model, the box may include a USB charging cable, mounting or positioning accessories, and a user manual. Check that the camera, cable, and any essential parts are present before starting.
Charge the camera as described in the manual, then choose a stable location with a clear view of the area you are permitted to monitor. A shelf, desk, or window sill may work well if it provides a wide viewing angle and is close enough to a suitable power source or within the device’s operating range.
- Keep the lens unobstructed and clean.
- Avoid pointing the camera directly at strong lights or windows, which can reduce image clarity.
- Place the camera where it will not be easily knocked, covered, or disconnected.
- Check that the camera has adequate Wi‑Fi signal strength at its intended location.
Turn the camera on and allow it to complete its startup process. If the device has a reset button or setup mode, use the instructions supplied for that specific model rather than guessing the control sequence.
Step 2: Connect the camera to Wi‑Fi
Open the camera’s setup interface, which may be provided through a companion app or a browser-based settings page. Locate the wireless or network setup option and scan for available networks. Select your home or office network and enter its password carefully.
The camera should be close enough to the router during initial setup to maintain a reliable connection. Once the connection is established, you can test the live view before moving the camera to its final position.
If the camera will not connect
- Recheck the Wi‑Fi name and password, including capital letters and special characters.
- Move the camera closer to the router and try the setup again.
- Confirm that other devices can access the network.
- Restart the camera and, if necessary, restart the router.
- Check the manual for network requirements or limitations specific to the model.
Protect the camera by securing both the wireless network and the camera account. Use a strong, unique password and avoid sharing login details unnecessarily. If the camera offers account, encryption, or access-control settings, review them before enabling remote viewing.
Step 3: Configure video, detection, and night settings
After the camera is online, open its settings and adjust the options to suit the intended use. Start with the video resolution. A higher setting can provide a clearer image, but it may also use more storage and bandwidth. Choose the highest practical quality that your storage and network can support.
Motion detection and recording
Enable motion detection if you want the camera to record or send an alert when movement occurs. Begin with a moderate sensitivity level and test the camera in the real environment. If ordinary activity, moving curtains, or changing light causes too many alerts, reduce the sensitivity or adjust the detection area if that option is available.
Choose the recording mode supported by the camera. Continuous recording may create larger files, while motion-triggered recording can focus storage on periods when movement is detected. Confirm where recordings are saved and how much available space remains.
Audio and low-light options
If the camera supports sound recording, enable it only when permitted and when audio is genuinely needed. Audio can raise additional privacy and legal concerns, so check the rules that apply where the camera is being used.
For dark areas, enable night vision if the device provides it. Test the result after dark because nearby reflective surfaces, glass, or bright lights may affect the image. If the picture is too dim or washed out, repositioning the camera may help more than changing a setting.
Complete a final test
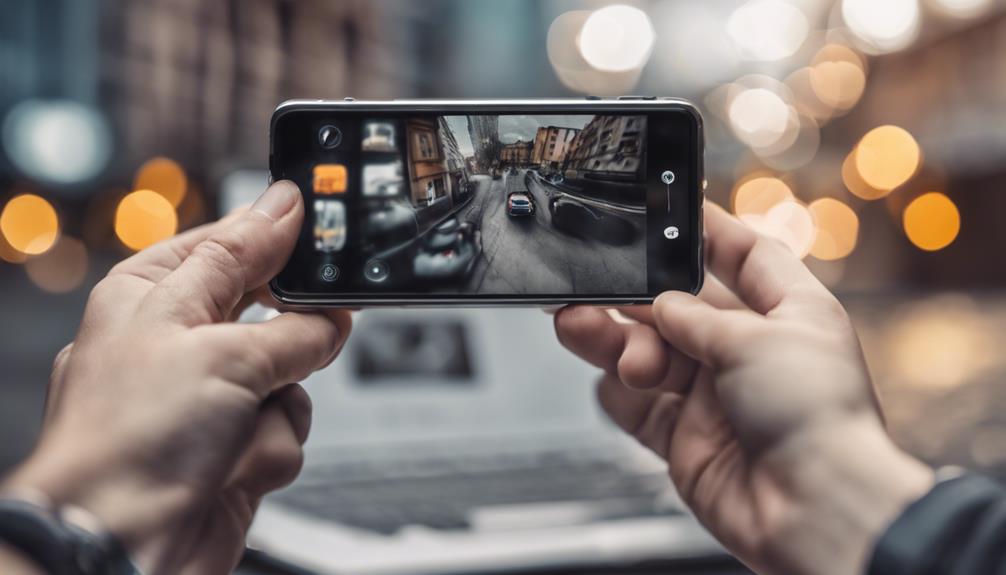
Watch the live view from the camera’s app or web interface, then trigger a short test recording. Confirm that the image is framed correctly, motion events are detected as expected, and recordings can be played back. Check the time and date settings as well, since inaccurate timestamps can make footage difficult to review.
Once testing is complete, secure the camera in its final position and review its settings periodically. A careful placement, reliable Wi‑Fi connection, and moderate recording configuration will help the mini wireless IP camera operate more consistently without creating unnecessary alerts or storage use.