
A solar security camera can provide dependable monitoring in places where mains power or permanent cabling is impractical. Detached garages, gates, driveways, gardens, farms and temporary work sites may all benefit from a camera powered by daylight and supported by a rechargeable battery.
The right choice depends on more than image resolution. Sun exposure, wireless connectivity, storage, weather resistance and privacy requirements all affect whether a camera will remain useful after installation. This guide explains the main features to compare and how to plan a reliable, responsible setup.
Why use a solar-powered security camera?
A solar camera combines a photovoltaic panel with a built-in battery. During daylight, the panel helps power the camera and recharge the battery; after dark, the stored energy supports recording, alerts and other functions. This arrangement reduces the need for electrical wiring and can make monitoring possible in locations far from a building.
Solar power is especially practical for:
- Driveways, gates and long private lanes
- Sheds, barns, workshops and detached garages
- Garden areas and outbuildings
- Construction or renovation sites without permanent power
- Farm equipment areas and livestock entrances
Solar power does not mean unlimited operation. A camera still depends on adequate sunlight, battery capacity and a reliable network connection. Long periods of shade or cloudy weather can reduce performance, so the system should be chosen and positioned for its actual environment.
Features to compare before buying
Panel and battery design
Look for a panel that can be angled toward the strongest available sunlight. A separate panel connected by a cable can be easier to position than a panel fixed directly above the camera. Battery capacity also matters: a larger reserve can help the camera continue operating during several dull days, although performance depends on recording settings, temperature and network activity.
Image quality and night performance
Choose a resolution suitable for the distance you need to monitor. A wide view may cover more ground, but distant subjects can still be difficult to identify. Check whether the camera offers useful night vision, adjustable infrared settings and motion zones that can be aimed at entrances or paths rather than constantly moving foliage.
Detection, alerts and audio
Motion detection should include sensitivity controls and, ideally, activity zones. These settings help reduce alerts caused by trees, road traffic or small animals. Two-way audio can be useful for communicating with someone at a gate, but audio recording may be subject to additional privacy rules in your area.
Weather protection, storage and connectivity
For outdoor use, select a housing designed to withstand rain, dust and temperature changes. Confirm how recordings are stored before purchasing. Options may include a microSD card, cloud storage or both. Local storage can reduce dependence on a subscription, while cloud storage may make footage easier to access if the camera is damaged or stolen.
Wi-Fi is suitable only where the signal reaches the installation point reliably. For remote locations, a model with cellular connectivity may be more practical, but it can involve separate data costs and coverage limitations.
Planning discreet outdoor monitoring
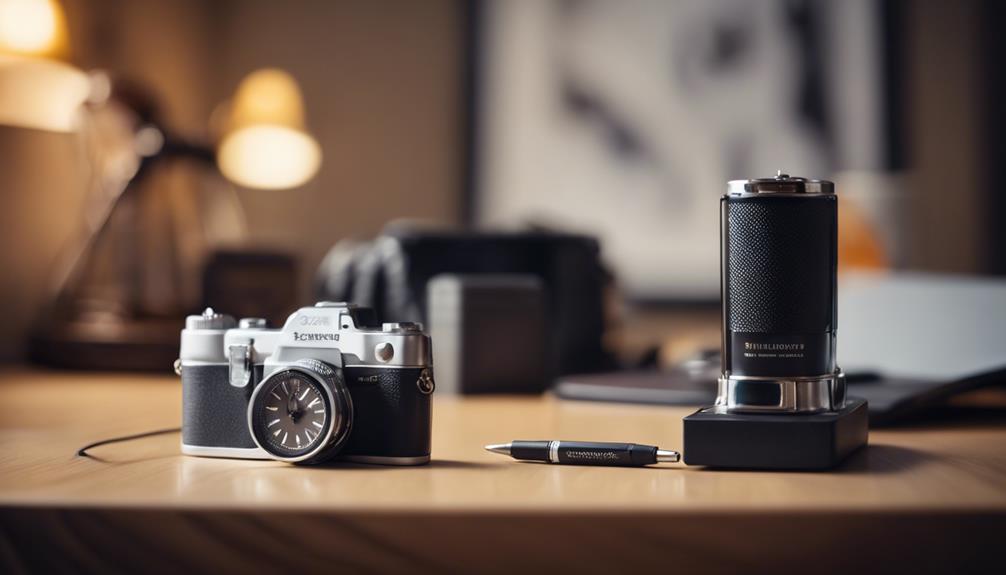
A camera does not need to be conspicuous to avoid spoiling the appearance of a property, but discreet placement should never be used to monitor private activity unlawfully. Practical options include mounting a unit high on an outbuilding, positioning it behind an appropriate weatherproof enclosure with an unobstructed lens, or placing the panel separately so the camera is less visually prominent.
Use discreet monitoring for legitimate purposes such as protecting a driveway, checking an exterior entrance, watching equipment or observing wildlife where permitted. Avoid aiming cameras into bedrooms, bathrooms, neighboring homes, fenced private areas or other places where people reasonably expect privacy.
Installation and maintenance checklist
- Choose a position with the longest practical period of direct sunlight.
- Keep the panel clear of shade from buildings, branches and seasonal growth.
- Angle the panel and camera separately when the site requires different viewing and sunlight directions.
- Use secure mounting hardware and place the camera high enough to discourage tampering.
- Test the wireless signal at the exact mounting location before completing installation.
- Clean dust, pollen and bird deposits from the solar panel periodically.
- Review motion zones and sensitivity after observing normal activity at the site.
- Install firmware updates, use a strong unique password and enable available account security controls.
- Check battery performance and recording storage before seasons with limited sunlight.
Privacy and legal responsibilities
Recording rules vary by country, state and local authority. Before installation, determine whether notice, signage or consent is required, particularly if the camera records audio, captures shared areas or monitors tenants, employees or visitors. Limit the field of view to property you are entitled to monitor and use privacy masking if the camera provides it.
Set a retention period that matches the security purpose rather than keeping footage indefinitely. Protect accounts and stored recordings, and share footage only when there is a legitimate reason to do so. If the legal position is unclear, seek advice from a qualified local professional.
Making the final choice
The best solar security camera is the one that matches the site rather than the model with the longest feature list. Start by checking sunlight, network coverage, viewing distance and privacy boundaries. Then compare battery reserve, night vision, motion controls, storage and weather protection. Careful placement and regular maintenance are just as important as the camera itself, helping an off-grid system provide useful monitoring without unnecessary downtime or intrusion.