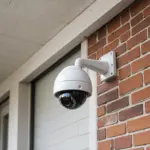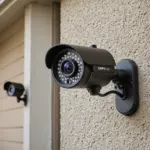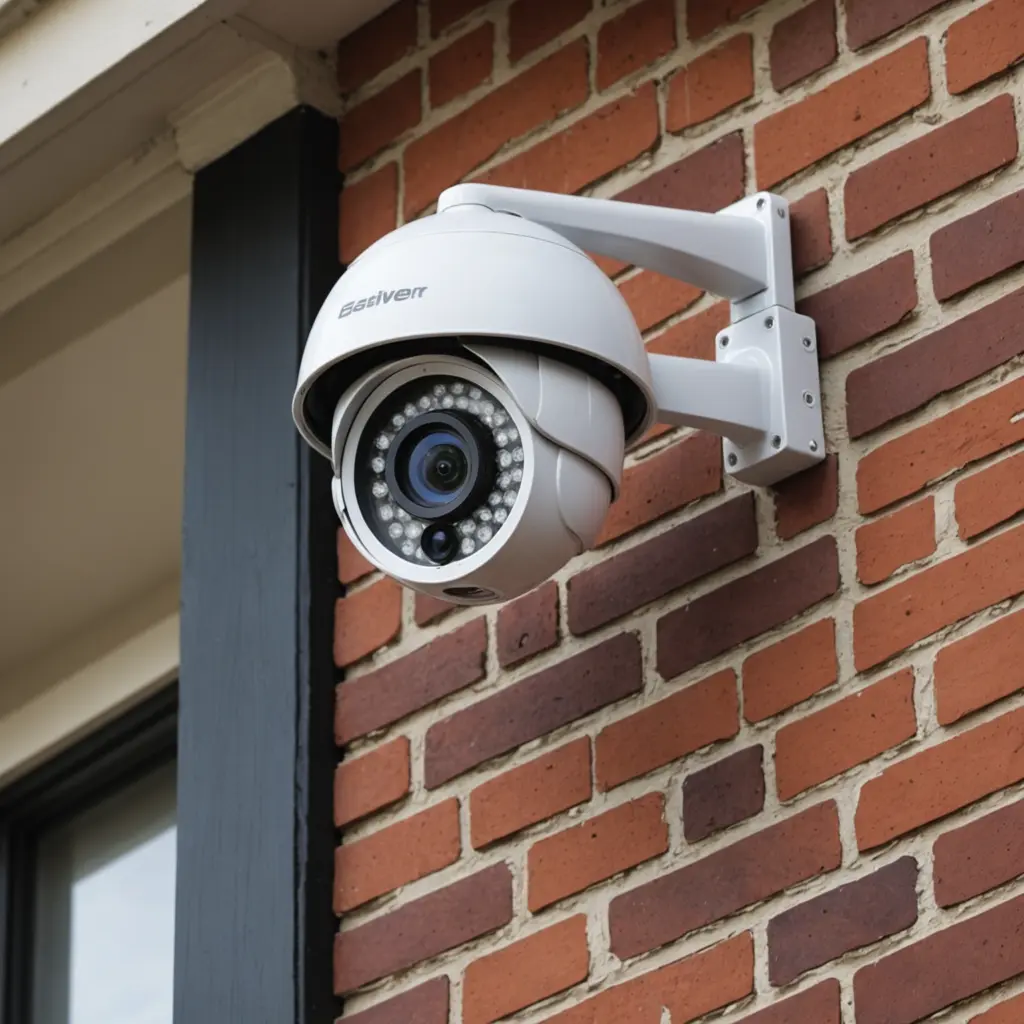

Installing a home security camera is only the first step. Its location, viewing angle, lighting, and connection to the rest of your security system all affect whether it records useful footage. A well-planned layout can help monitor likely access points, reduce blind spots, limit false alerts, and respect the privacy of everyone on and around the property.
Start with the areas that matter most
Before choosing camera models or mounting hardware, walk around the property and identify how people normally approach it. Prioritize locations where an intruder would enter, move between buildings, or access valuable equipment. Most homes benefit from concentrating coverage on a small number of important zones rather than trying to record every square metre.
- Front and back doors
- Driveways, garage doors, and parking areas
- Side gates and narrow paths alongside the home
- Ground-floor windows that are hidden from view
- Stairs, hallways, and other indoor routes between rooms
- Detached garages, sheds, or other outbuildings
Consider overlapping views at critical entrances. If one camera is blocked, blinded by strong light, or temporarily offline, a second angle may still capture someone approaching or leaving.
Best outdoor camera locations
Front door
The front entrance is usually the highest-priority outdoor location. Position the camera so it can see a person approaching the door rather than only the top of their head. A view that includes the path, porch, and immediate area around the entrance can provide useful context without unnecessarily recording the street.
Driveway and garage
A camera facing the driveway can monitor vehicles, people approaching the home, and activity around the garage. If the garage is attached, use an angle that covers both the garage door and the route toward the house. Avoid aiming directly into a bright sunrise, sunset, or vehicle headlights, since glare can obscure important details.
Side and rear access
Side passages and back doors are easy to overlook, especially when they are screened by fences or landscaping. These areas deserve attention because they may provide less visible access to the property. A camera can cover a gate, pathway, rear entrance, or nearby ground-floor window, provided the view remains within appropriate boundaries.
Yard and outbuildings
For a large yard, shed, or detached garage, aim cameras at approach routes and doors rather than simply recording an empty open area. Outdoor equipment should have suitable weather protection, and exposed cables should be secured or concealed where practical.
Useful indoor locations
Indoor cameras are generally most useful in shared areas and along routes that connect entrances to the rest of the home. A living room, central hallway, or stairway can show movement through the property while avoiding unnecessarily intrusive views.
- Entry hallways: Monitor movement after someone enters through a main door.
- Stairs: Cover movement between floors and reduce an important blind spot.
- Living areas: Provide broad coverage of a shared space without focusing on private activities.
- Home offices or storage areas: Consider these only when there is a clear security reason and occupants understand the monitoring.
- Pet, child, or care areas: Position cameras to monitor the relevant activity while avoiding bedrooms and bathrooms.
Do not place cameras in bathrooms or other areas where people reasonably expect privacy. Bedrooms also require particular caution and should generally be excluded from routine surveillance.
Mounting height, angle, and image quality
A camera should be high enough to discourage casual tampering but not so high that faces become difficult to identify. Mounting it at an angle that looks slightly downward can reduce sky glare and improve the view of people near an entrance. Test the image from the position of an approaching visitor before permanently fixing the camera.
Wide-angle lenses cover more space but may make faces at the edges appear distorted or small. A narrower view may provide better detail at a doorway or driveway. Make sure the camera’s range matches the distance it must cover instead of relying on a broad view alone.
Lighting is equally important. Avoid pointing a camera toward strong light sources, and check the scene during both daylight and darkness. If the area is poorly lit, use appropriate low-light or infrared capability, or add lighting that improves visibility without creating glare.
Connectivity, power, and recording
Test wireless signal strength at every proposed camera location rather than assuming coverage will be adequate. Weak connections can cause delays, gaps, or unreliable notifications. Wired cameras require planning for cable routes, power, and protection from weather or tampering. If possible, consider how the system will record when the internet connection is unavailable, including whether local recording is suitable for your needs.
Privacy and ongoing maintenance
Frame outdoor views so they stay focused on your property. Avoid recording through neighbors’ windows or unnecessarily capturing adjoining homes, public areas, or passing foot traffic. Use privacy masking, activity zones, recording schedules, or other available controls where appropriate. Household members and regular visitors should understand where cameras are installed and why.
Camera placement is not a one-time task. Clean lenses, inspect mounts, review motion zones, and check footage after changes in landscaping, lighting, or furniture. Update device software when needed and periodically test each camera from likely approach routes. These simple checks help ensure that the system continues to produce clear, relevant footage rather than excessive alerts or unhelpful images.